You are using an out of date browser. It may not display this or other websites correctly.
You should upgrade or use an alternative browser.
You should upgrade or use an alternative browser.
Ray's Boost
- Thread starter raymond
- Start date
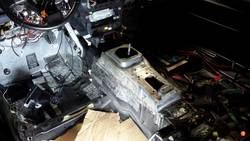
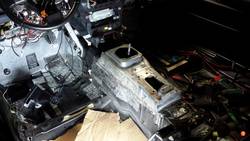
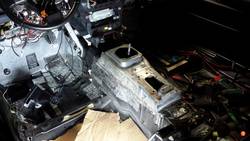
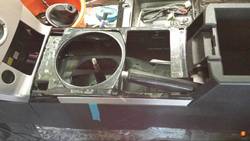
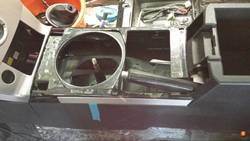
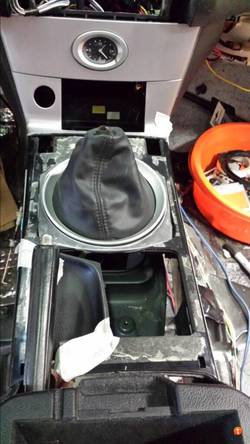
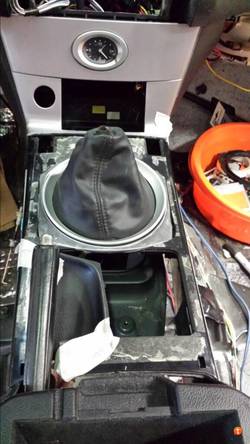
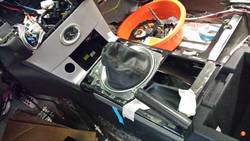
Test fitting:
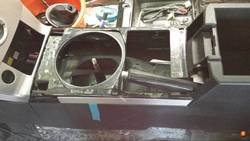
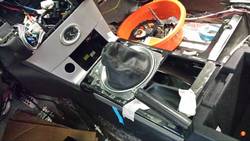
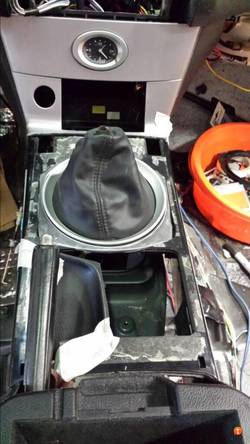
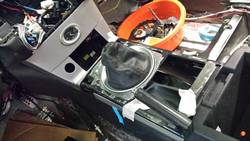
I was thinking on leather/suede on the centerconsole. I like the blue painted ring of the Z shifter part wich rookie has. Was thinking on doing that but when seeing the original silver brushed color as from our interior alu parts i decided along with my friends to paint the top parts of the konsole in the color of the car.....sides oem and keep several alloy details. So i can come as close to oem as possible.
I took of the alloy from our top oem center cover. Wanted to keep the frame as i clics right into our centerconsole. We are going to plastic weld in all needed parts. Overlay if and epoxy the rest. Make it smooth and ready for paint.
Verstuurd vanaf mijn GT-I9505 met
Attachments
Last edited:
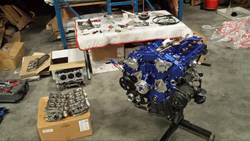
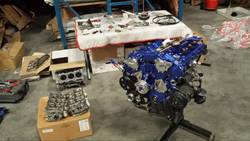
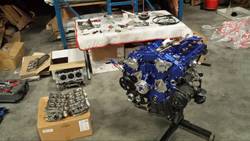
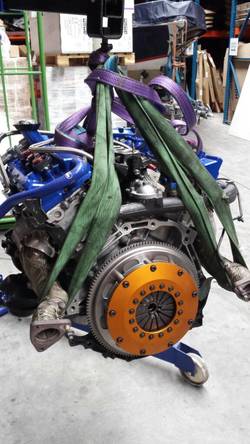
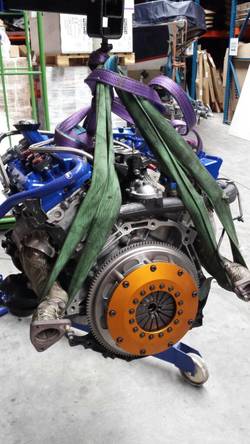
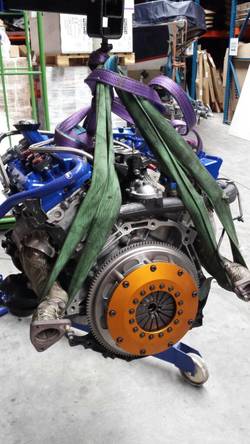
So the clutch and brake pedal are back in. I can pick the version 3.0 engine up tomorow and will start building everthing back up the next couple of weeks. Made an additional bracket for the clutch pedal on top to give it that extra strength and with a v-shaped bracket can mount it to the oem ebrake support underneath the dash.
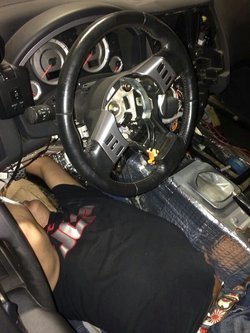
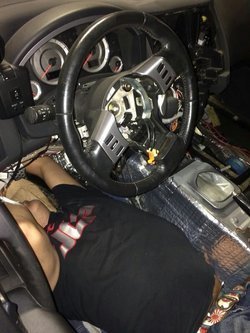
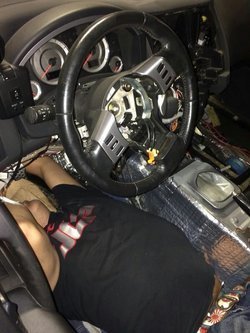
This was how i was lying for a couple of evenings :
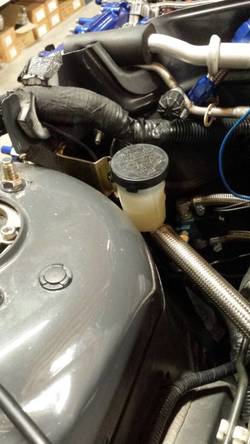
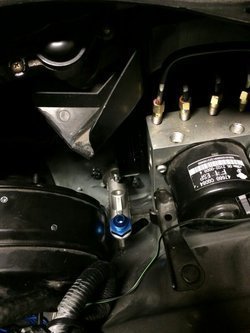
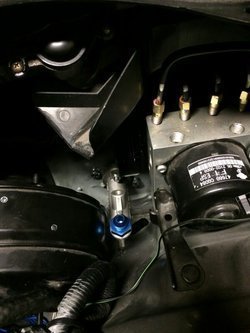
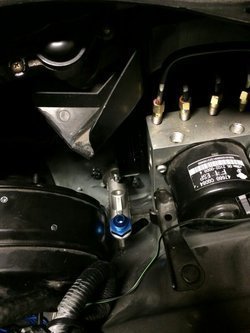
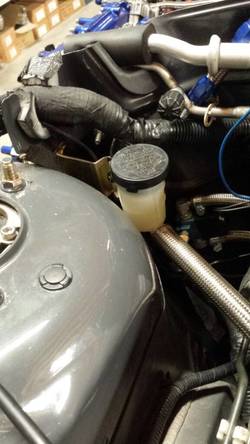
Here you can see how narrow the clutch master cylinder is mounted between the brake master cylinder and the ABS unit:
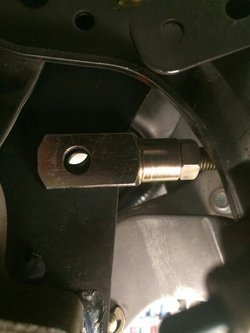
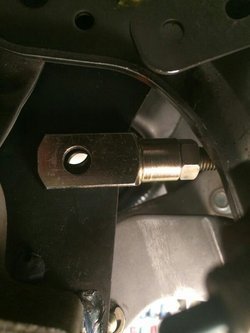
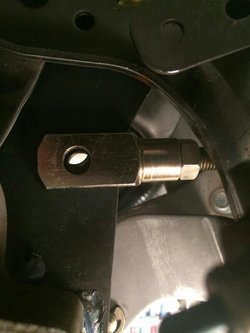
The wilwood clutch master cylinder fork just didn't line up very well with the hole at the pedal side so needed to tweak that.... so pedal in...out...in...out...
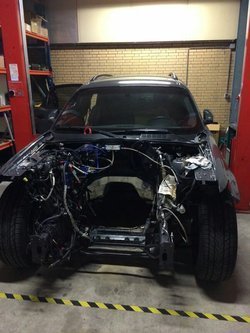
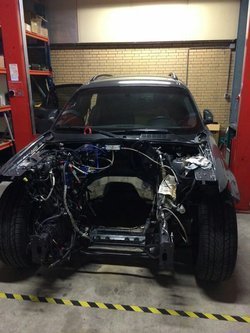
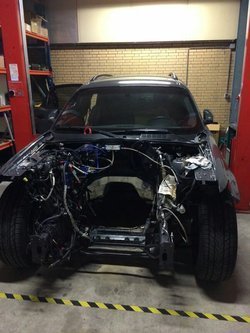
This is how she sits now waiting for the new transplant:
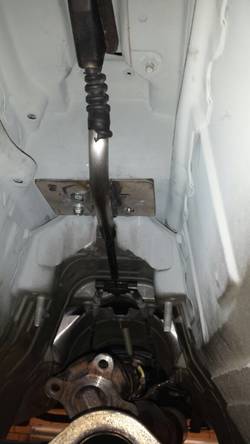
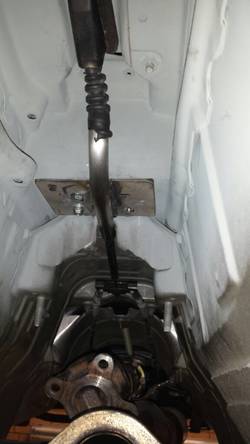
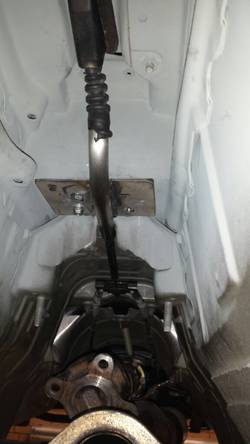
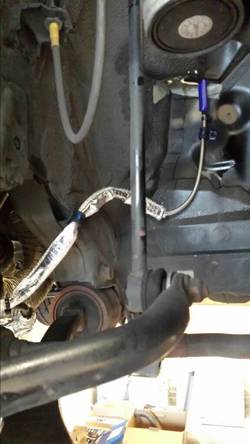
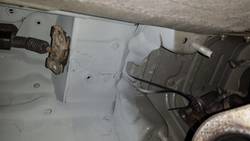
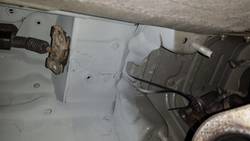
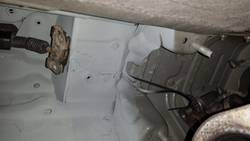
Due to the new higher install center tunnel i needed to make sort of a bracket/guiding system as i need to pass a 90 degree lower corner with the new handbrake cable.
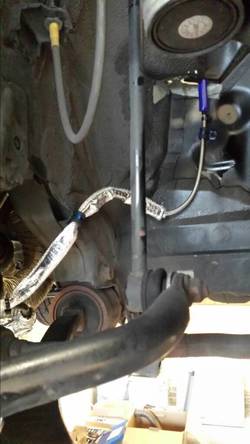
I messured the length and used the old ebrake cable wich was long enhough so i can shorten it to the length i needed. Send it out for an new end-seal but still believe it is a bit to long but working on that bracket first. Here is the situation beneath. Maybe you'll get a better idea of it:
Hopefully more updates soon [emoji1]
This was how i was lying for a couple of evenings :

Here you can see how narrow the clutch master cylinder is mounted between the brake master cylinder and the ABS unit:

The wilwood clutch master cylinder fork just didn't line up very well with the hole at the pedal side so needed to tweak that.... so pedal in...out...in...out...

This is how she sits now waiting for the new transplant:

Due to the new higher install center tunnel i needed to make sort of a bracket/guiding system as i need to pass a 90 degree lower corner with the new handbrake cable.
I messured the length and used the old ebrake cable wich was long enhough so i can shorten it to the length i needed. Send it out for an new end-seal but still believe it is a bit to long but working on that bracket first. Here is the situation beneath. Maybe you'll get a better idea of it:

Hopefully more updates soon [emoji1]
Attachments
-
 bese5eme.jpg59.9 KB · Views: 62
 -
 e6uvu7ud.jpg84.2 KB · Views: 67
 -
 e6uvu7ud.jpg84.2 KB · Views: 71
 -
 gu3u4unu.jpg39.9 KB · Views: 61
 -
 vy2e7a4e.jpg82.1 KB · Views: 63
 -
 vy2e7a4e.jpg82.1 KB · Views: 62
 -
 abema9um.jpg48.4 KB · Views: 68
 -
 bese5eme.jpg59.9 KB · Views: 64
 -
 abema9um.jpg48.4 KB · Views: 92
 -
 gu3u4unu.jpg39.9 KB · Views: 82
Attachments
payyourtoll
Member
- Name
- Rob
hell yes
- Car
- 2004 Infiniti FX35 Supercharged
Nice progress Ray!:good:
Thanks guys it will still take a while i think due tue all little adjustments i believe. Yesterday evening spent my whole night working on some brackets for all sensors.....tilt.....Airbag wich are mounted on the center tunnel. But as we welded a 350Z in and higher as well all those points are gone. As always most of the time goes into the little details [emoji6]
Attachments
-
 ce2231e9af0284c1076d7850f808de23.jpg54.6 KB · Views: 60
 -
 ce2231e9af0284c1076d7850f808de23.jpg54.6 KB · Views: 59
 -
 79515b7fe2cab147a0e52cc3d03bf110.jpg58.6 KB · Views: 63
 -
 79515b7fe2cab147a0e52cc3d03bf110.jpg58.6 KB · Views: 79
 -
 3b39e6de5cb3b5b01589283151e6a48f.jpg67.3 KB · Views: 67
 -
 3b39e6de5cb3b5b01589283151e6a48f.jpg67.3 KB · Views: 68
We fired up the engine yesterday and going to troubleshoot tommorow.
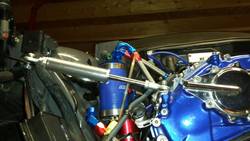
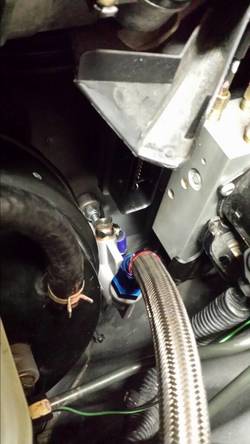
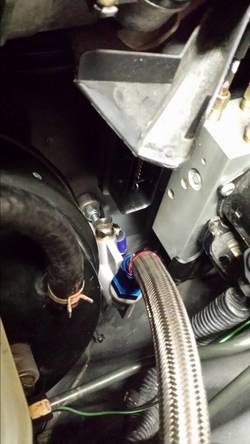
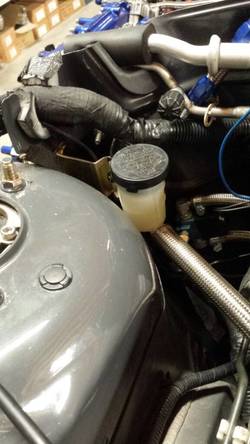
Final stages are done. I also fitted an engine damper mainly to keep the engine as much in position as possible due to all the stianless hoses running close to the painted enginebay. And performance wise it will help also in better throttle response.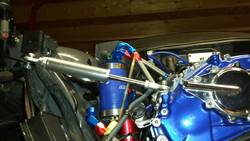
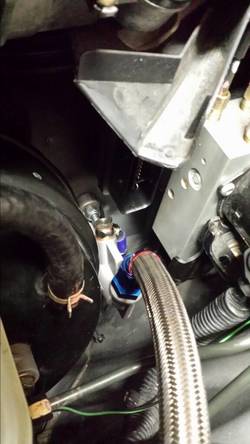
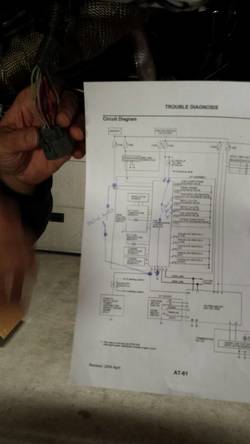
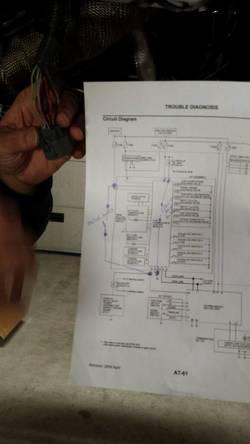
We wired/loomed the canbus wiring of transmission so i have neutral position , cruise control and reverse signal for the lights
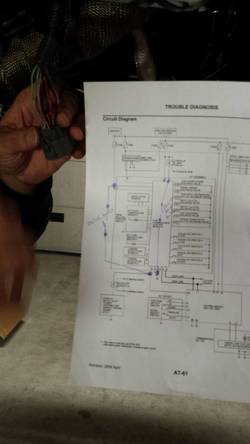
Hoping tommorow all is well. I read in rookies thread he still had som canbus and cruise control issues so gues i will learn about that tommorow.
Final stages are done. I also fitted an engine damper mainly to keep the engine as much in position as possible due to all the stianless hoses running close to the painted enginebay. And performance wise it will help also in better throttle response.

We wired/loomed the canbus wiring of transmission so i have neutral position , cruise control and reverse signal for the lights

Hoping tommorow all is well. I read in rookies thread he still had som canbus and cruise control issues so gues i will learn about that tommorow.
Attachments
You are one patient man Ray.
This times a million.
I hope everything works out for you.
Haha guys believe me you don't know how impatient i have always been but this car kinda had a therepatic healing for me LOL. But honeslty i think when all stays well i'm done modding for a while.
My causin has a bodyshop and i brought my recaro (audi) RS4 seats to him to lett them be painted. The leather was fine but the paint was worn on one chair. If i had the budget/funds i would have gone for a overhaul with suède and leather but as this engine project set me back quite some i choose to stick with the exhisting all black leather. I might do something on the new centerconsole but haven't figure that out yet.
Further i really had issues with the Big Brake Kit overheating when playing with the car. Short runs and stops overheated the brakepads way to much. I ran the original JBT pads wich worked fine with my N/A setup but not anymore.
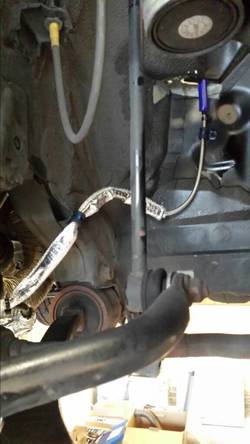
I fitted some Carbon Lorraine RC5+ pads and fitted some titanium pad plates wich my colleque had in stock and never used. These plates are fitted between the brake pad and caliper pistons to reduce brake heat. Further i will try to run 2 big flexibel hoses front the front toworths the rear side of the wheelhubs/brakes wich will give additional cooling. I will tackle this when my summit underpan will finally be fitted. Not really that neccesary when breaking the engine in.
---------- Post added at 10:32 AM ---------- Previous post was at 08:43 AM ----------
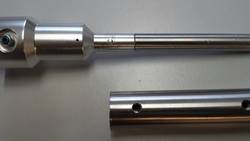
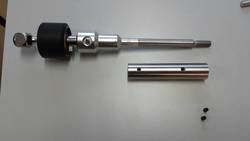
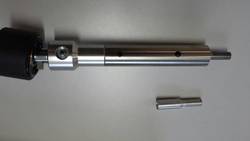
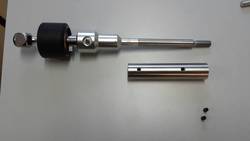
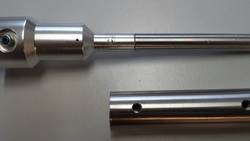
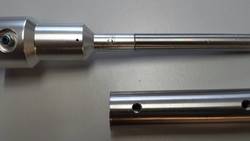
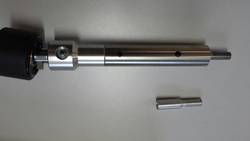
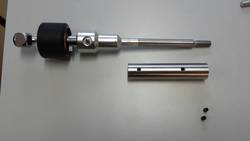
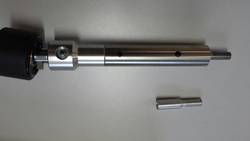
Extended my shifter as i'm using our oem centerkonsole wich is much higher then the Z konsole. But when in search for a extension in the size i want people told me that these things could brake in time. Also they are minimum of 4 inch and no stock in my country on these things. So i lett one CNC made and also a cover wich goes over the shifter to strengthen it more:


Attachments
-
 0a44d28668e0337ab3e171c77b12240b.jpg30.4 KB · Views: 65
 -
 6a5b467af9637099349ff30c4e9353fa.jpg37.6 KB · Views: 56
 -
 6a5b467af9637099349ff30c4e9353fa.jpg37.6 KB · Views: 68
 -
 5c1228ed19cce1ec2db489a1a5d7fb79.jpg26.9 KB · Views: 70
 -
 0a44d28668e0337ab3e171c77b12240b.jpg30.4 KB · Views: 59
 -
 5c1228ed19cce1ec2db489a1a5d7fb79.jpg26.9 KB · Views: 70
Haha I don't think that shifter is gonna break ever like that... Nice work.
Ray have you ever detailed the install of your RS4 seats? I have an opportunity to purchase a set of RS4 seats for really cheap, and the condition is really good. Was how hard was the installation? Do your seats work just like normal? How about the memory functions?
Ray have you ever detailed the install of your RS4 seats? I have an opportunity to purchase a set of RS4 seats for really cheap, and the condition is really good. Was how hard was the installation? Do your seats work just like normal? How about the memory functions?
Share:

