- Location
- Chicagoland
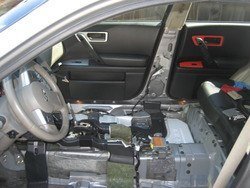
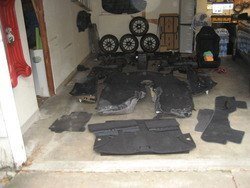
That is a lot of extra work swapping and re-Dynamatting! Labor of Love right there! Nice job, look forward to the continued progress! :top:

That is a lot of extra work swapping and re-Dynamatting! Labor of Love right there! Nice job, look forward to the continued progress! :top:


Wow brad you weren't kidding when you said you were gonna get to work lol. Sorry I wasn't able to stop by powerfab yesterday to help out, but next time you go see big red let me know and ill be there for sure to lend a hand.
That's was some speedy swap!
awesome work! wouldn't it be easier to tow big red home and do the swap there?
Amazing work so far. Glad to see project two underway!
You're quick. What were you on? :tongue (2):
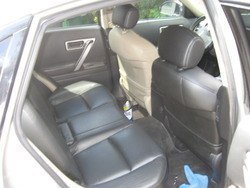
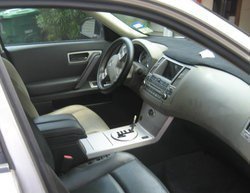
i actually dont think black on beige looks bad at all.. black dash, black door panels n console.. beige seats and random trim... just my opinion tho lol.. i bet u had a grin from ear to ear doing this.. i would!
It's a deal. I still have quite a bit of work to do. As I was completing the swap I started collecting a list of parts that I want to keep as extras, plus a few peices I couldn't fit in the FX will all the other stuff. Aiming for this coming Saturday morning.
Damn. That's ALOT of work in such short period of time. Good job. Very excited to see you in another FX....
lol, thanks. Perhaps you didn't realize from my first build and the fact that I'm starting a second... I ain't f*cking around.:wink (2):
")