
I have a FX35 with brick interior with black headliner and a FX45 with black interior with wheat headliner. I'm swapping the brick interior from my 35 into my 45. While with the interior all gutted, I decided to lay down some sound deadening product. I decided to use B-Quiet Ultimate due to it's cost comparing to the Dynamat. I have use Dynamat Ultimate in my 35 and I really like it. I'm a bit disappointed with the B-Quiet Ultimate though. Its a much thinner than the Dynamat Ultimate. Anyhow, I'm happy that its all done! Thanks to the helping hands from Andrew(AeroBFA) and my brother-in-law; otherwise I may still in the mids of swapping :smile (2):.
I don't have any before pics of my 45 interior. I'm sure sure everyone here can imagine the standard black interior with wheat headliner looks like. Anyhow, here pics of my interior transformation!
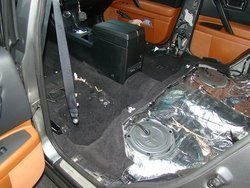
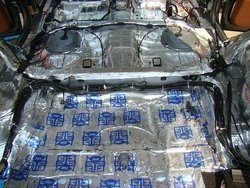
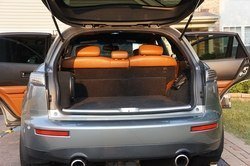
The rear seat area.


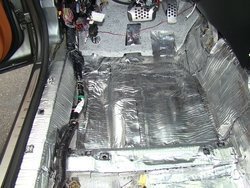
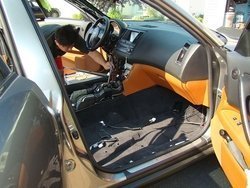
Passenger compartment with seats removed.


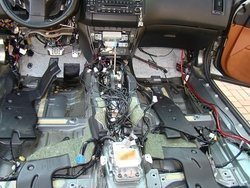
With seats and pillars removed, the carpeting can easily taken out.

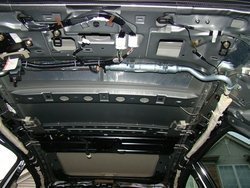
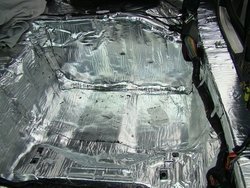
Roof with headliner removed.

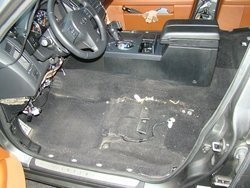
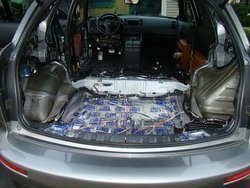
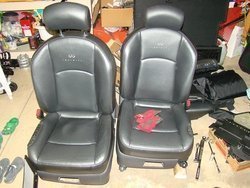
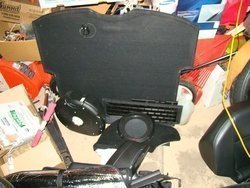
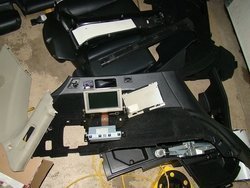
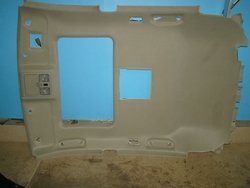
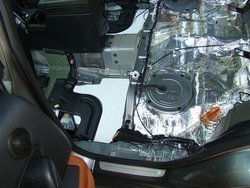
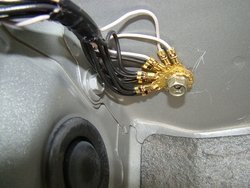
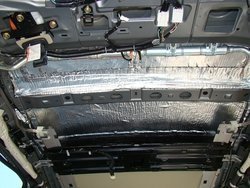
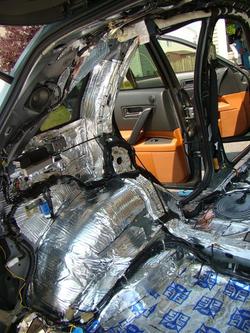
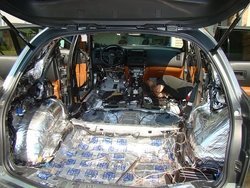
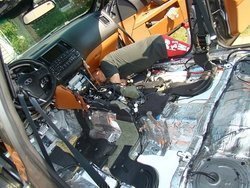
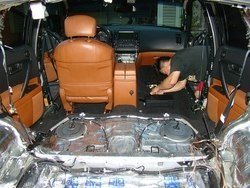
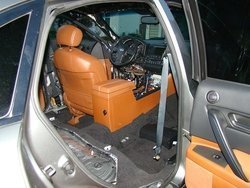
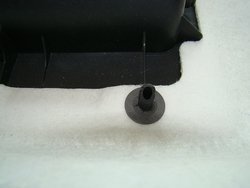
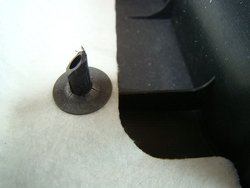
Ramdom shots of interior.


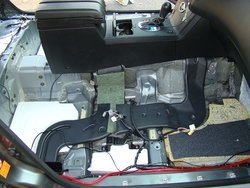
Passenger side sub floor.

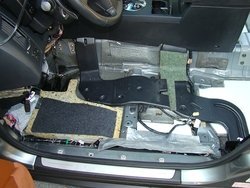
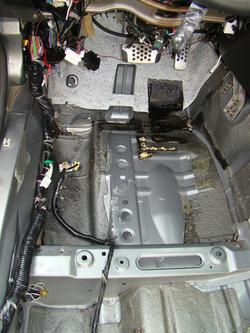
Driver side sub floor.


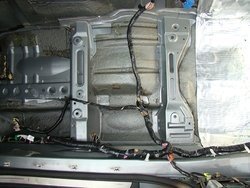
Bare metal passenger compartment.


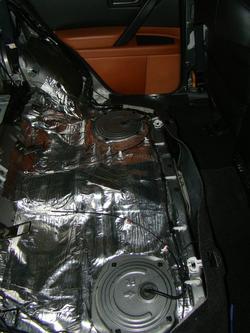
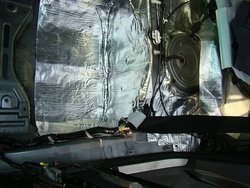
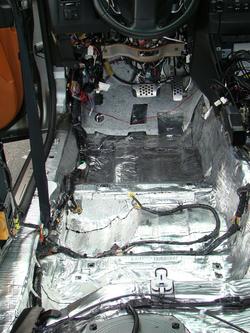
B-Quieted floor.


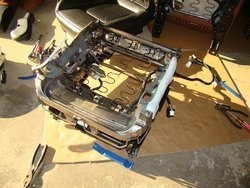
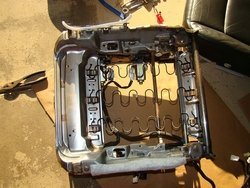
Driver seat bare metal frame.


Yeah, carpeting back in! Brick interior comes with brick carpeting, but decided to keep the black carpeting orginally comes with the black interior instead. Love the contrast!


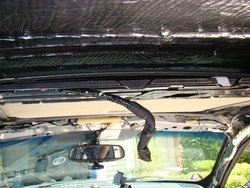
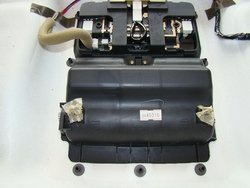
The back side of the overhead console. Show how the overhead console attached to the headliner


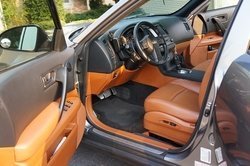
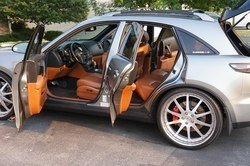
All done!


I don't have any before pics of my 45 interior. I'm sure sure everyone here can imagine the standard black interior with wheat headliner looks like. Anyhow, here pics of my interior transformation!
The rear seat area.
Passenger compartment with seats removed.
With seats and pillars removed, the carpeting can easily taken out.
Roof with headliner removed.
Ramdom shots of interior.
Passenger side sub floor.
Driver side sub floor.
Bare metal passenger compartment.
B-Quieted floor.
Driver seat bare metal frame.
Yeah, carpeting back in! Brick interior comes with brick carpeting, but decided to keep the black carpeting orginally comes with the black interior instead. Love the contrast!
The back side of the overhead console. Show how the overhead console attached to the headliner
All done!
Attachments
-
 DSC09880.jpg204.4 KB · Views: 60
 -
 DSC09882.jpg121.1 KB · Views: 96
 -
 DSC09907.jpg266.8 KB · Views: 80
 -
 DSC09908.jpg253.7 KB · Views: 65
 -
 DSC09909.jpg224.4 KB · Views: 61
 -
 DSC09911.jpg159.6 KB · Views: 94
 -
 DSC09910.jpg222.6 KB · Views: 83
 -
 DSC09912.jpg220.2 KB · Views: 62
 -
 DSC09913.jpg183.3 KB · Views: 78
 -
 DSC09915.jpg169.2 KB · Views: 81
 -
 DSC09920.jpg194.2 KB · Views: 60
 -
 DSC09921.jpg128.5 KB · Views: 76
 -
 DSC09962.jpg214.4 KB · Views: 88
 -
 DSC09922.jpg230.3 KB · Views: 63
 -
 DSC09923.jpg224 KB · Views: 78
 -
 DSC09924.jpg231.4 KB · Views: 60
 -
 DSC09927.jpg272.2 KB · Views: 96
 -
 DSC09929.jpg235.1 KB · Views: 57
 -
 DSC09930.jpg151.3 KB · Views: 94
 -
 DSC09931.jpg222.9 KB · Views: 78
 -
 DSC09932.jpg220.9 KB · Views: 78
 -
 DSC09934.jpg279.2 KB · Views: 97
 -
 DSC09935.jpg261.8 KB · Views: 58
 -
 DSC09936.jpg172 KB · Views: 82
 -
 DSC09942.jpg202.7 KB · Views: 71
 -
 DSC09947.jpg227.5 KB · Views: 97
 -
 DSC09944.jpg334.7 KB · Views: 62
 -
 DSC09945.jpg186.9 KB · Views: 81
 -
 DSC09946.jpg185 KB · Views: 81
 -
 DSC09959.jpg288 KB · Views: 98
 -
 DSC09960.jpg306.7 KB · Views: 86
 -
 DSC09961.jpg290.7 KB · Views: 64
 -
 DSC09967.jpg247.7 KB · Views: 93
 -
 DSC09968.jpg247 KB · Views: 95
 -
 DSC09965.jpg261.3 KB · Views: 60
 -
 DSC09966.jpg227.8 KB · Views: 79
 -
 DSC09969.jpg266.8 KB · Views: 84
 -
 DSC09970.jpg240.4 KB · Views: 75
 -
 DSC09973.jpg162.2 KB · Views: 95
 -
 DSC09974.jpg100.2 KB · Views: 94
 -
 DSC09975.jpg102.8 KB · Views: 63
 -
 DSC01609s.jpg175.5 KB · Views: 102
 -
 DSC01611s.jpg162.8 KB · Views: 81
 -
 DSC01612s.jpg152.6 KB · Views: 89
 -
 DSC01613s.jpg147.5 KB · Views: 79
 -
 DSC01614s.jpg167.1 KB · Views: 95
 -
 DSC01616s.jpg230.7 KB · Views: 88
")