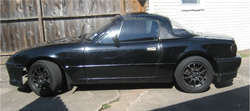
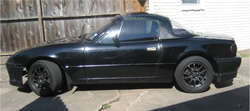
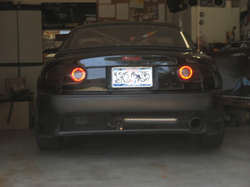
Member's other Modded rides

Did not expect to put time in tonight but we have out of town family and I had to get out of the house. View attachment 224154

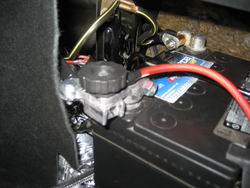
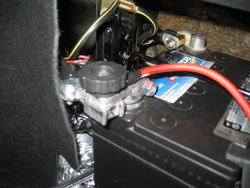
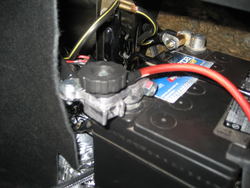
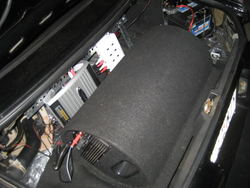
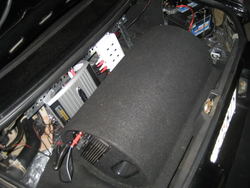
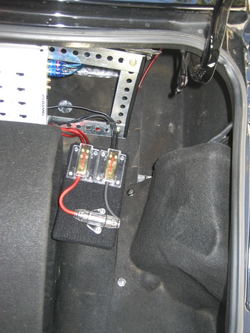
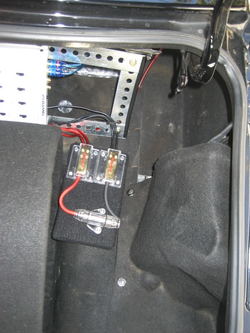
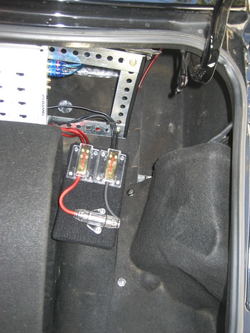
Soooo I finished wiring up the battery quick disconnect (marine terminal). Also wired in the new stereo gear - you can see the post extension on the negative terminal. On the positive side I just used a ring terminal over the clamp post.

IMG_3117.jpg

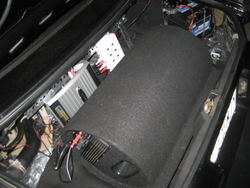
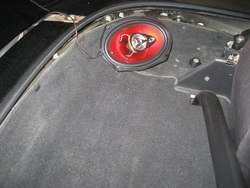
Wired in power, ground & remote for the cross-over, amplifier and bass tube. Bye-bye, trunk space!

IMG_3116.jpg

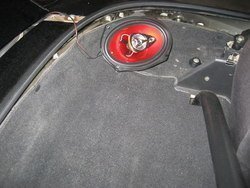
I temporarily wired in the rear channel just to check out the gear. Even without the speaker enclosures, the range is much better. I actually sat in the car and played around with the fade and equalizer settings just for the hell of it. Even with the hard top off the car it's already sounding leaps and bounds better. Can't wait to knock out the enclosures.

IMG_3119.jpg

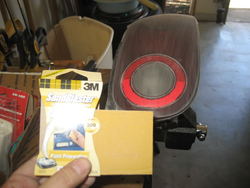
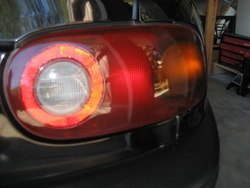
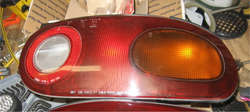
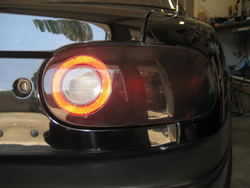
Shaving tail lights caught my eye and I decided to try it out from a DIY I read on one of the Miata forums.

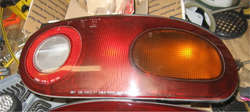
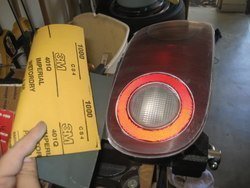
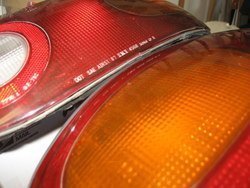
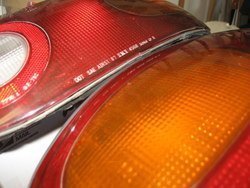
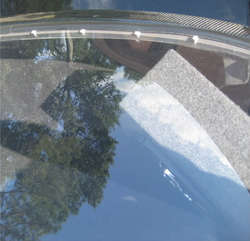
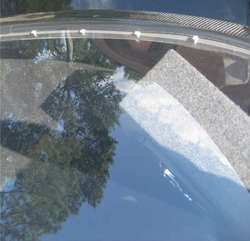
You can see the raised lettering on the headlight, surrounded by white wax from previous washings. These lights have 200,000 miles on them.

IMG_3121.jpg

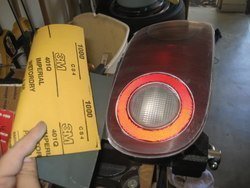
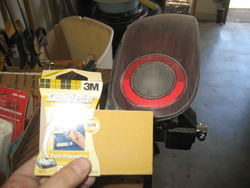
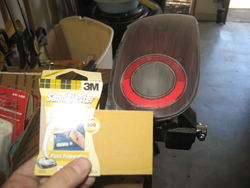
Went to Home Depot and found a sample pack of finishing sandpaper and a sanding sponge. Never done this before but the directions seemed pretty straight forward.

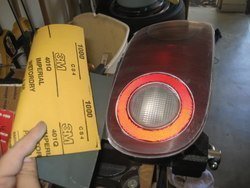
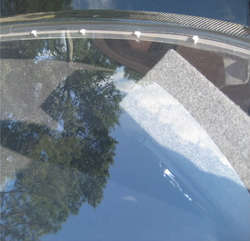
Started with a file and smoothed out the places where the lettering was. Then I went to 320 grit wet/dry sandpaper and sanded in one direction, up and down. Then I sanded 90 degrees (side to side) with 400 grit till I couldn't see any of the sanding marks in the other direction. Here you can see the sanding marks going the long way down the light.

IMG_3123.jpg

Then 1000 grit, 90 degrees. You can see the sanding marks going left to right (short way across light).

IMG_3124.jpg

Then 1500 grit, 90 degrees.

Then I used Meguire's Ultimate compound, rubbed in by hand with a microfiber.

followed by a Sonus swirl remover, by hand

and then finally plastic-X, by hand

Took about three hours for both lights.

First one complete - sitting next to the next one.

IMG_3122.jpg

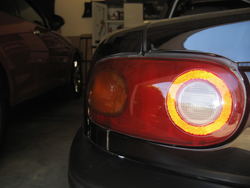
Both of them on the car:

IMG_3131.jpg

IMG_3130.jpg
 

Attachments

  • IMG_3117.jpg
    IMG_3117.jpg
    69.4 KB · Views: 11
  • IMG_3117.jpg
    IMG_3117.jpg
    69.4 KB · Views: 10
  • IMG_3119.jpg
    IMG_3119.jpg
    131.1 KB · Views: 7
  • IMG_3119.jpg
    IMG_3119.jpg
    131.1 KB · Views: 7
  • IMG_3116.jpg
    IMG_3116.jpg
    89.1 KB · Views: 7
  • IMG_3116.jpg
    IMG_3116.jpg
    89.1 KB · Views: 9
  • IMG_3124.jpg
    IMG_3124.jpg
    65.3 KB · Views: 8
  • IMG_3124.jpg
    IMG_3124.jpg
    65.3 KB · Views: 7
  • IMG_3123.jpg
    IMG_3123.jpg
    57.5 KB · Views: 7
  • IMG_3123.jpg
    IMG_3123.jpg
    57.5 KB · Views: 9
  • IMG_3121.jpg
    IMG_3121.jpg
    59.2 KB · Views: 9
  • IMG_3121.jpg
    IMG_3121.jpg
    59.2 KB · Views: 7
  • IMG_3130.jpg
    IMG_3130.jpg
    44.9 KB · Views: 6
  • IMG_3130.jpg
    IMG_3130.jpg
    44.9 KB · Views: 7
  • IMG_3131.jpg
    IMG_3131.jpg
    49.5 KB · Views: 7
  • IMG_3131.jpg
    IMG_3131.jpg
    49.5 KB · Views: 6
  • IMG_3122.jpg
    IMG_3122.jpg
    77.9 KB · Views: 8
  • IMG_3122.jpg
    IMG_3122.jpg
    77.9 KB · Views: 8
Last edited:
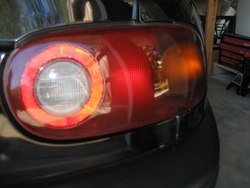
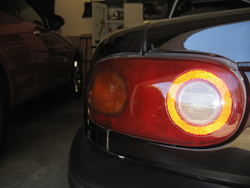
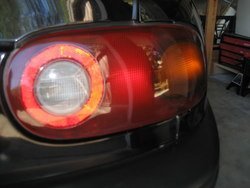
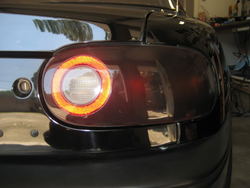
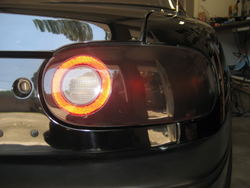
So finally, after waiting 48 hours for the acrylic to cure, I repeated the entire sanding process all over again, this time on the clear coat. I really like the custom look I've achieved. Just the reverse lights are not tinted.

After shaving and polishing the lens.

IMG_3130.jpg

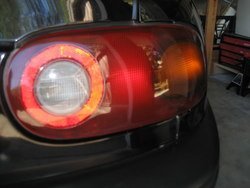
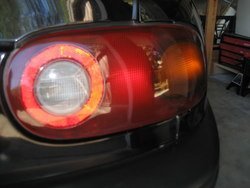
After masking, tinting, clear coat and polish.

IMG_3155.jpg

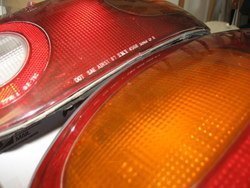
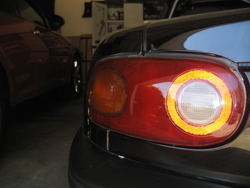
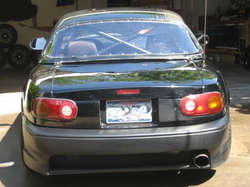
Shot from the back - before tint

miatastuff004.jpg

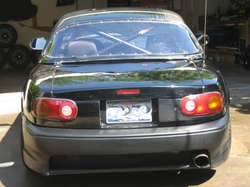
Shot from the back - after tint

IMG_3153.jpg
 

Attachments

  • miatastuff004.jpg
    miatastuff004.jpg
    78.6 KB · Views: 10
  • miatastuff004.jpg
    miatastuff004.jpg
    78.6 KB · Views: 6
  • IMG_3155.jpg
    IMG_3155.jpg
    54.8 KB · Views: 7
  • IMG_3155.jpg
    IMG_3155.jpg
    54.8 KB · Views: 8
  • IMG_3130.jpg
    IMG_3130.jpg
    44.9 KB · Views: 7
  • IMG_3130.jpg
    IMG_3130.jpg
    44.9 KB · Views: 6
  • IMG_3153.jpg
    IMG_3153.jpg
    35.1 KB · Views: 7
  • IMG_3153.jpg
    IMG_3153.jpg
    35.1 KB · Views: 11
Nice work man. Looks great!

Was your battery always in the trunk or did you relocate it?

All Miatas have then in the trunk OEM.

Yup, SC is right - all generations of Miata come with them in the trunk. The power and ground wires essentially are routed together in the harness to the front of the car. Of course - that's not very far in a Miata, lol. I cut the OEM battery clamp off, stripped the wire and attached the marine terminal to the positive side. Removing power is much easier and I don't wear the terminal clamp bolt with as often as I am working on the car. There is actually a molded battery cover that I now have installed.

I actually considered moving the battery in the FX to the trunk. It can be done with the other gear I have back there if I trim some of the plastic frame. I decided there was no good reason to do it other than to be different. It's not like it would be more convenient there. There would be a little bit of CG weight change and you free up the battery compartment for other gear so it could still happen if I have a good reason.
 
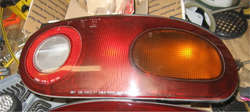
You know what's funny - now looking at the photos of the tail lights before I tinted them in my post above, the tails are two different models. I knew the car was in a wreck and I actually pounded out part of the trunk, but check out the yellow signal indicators in each light - different shape & color! So tinting them totally solved that problem, lol.

---------- Post added at 07:24 PM ---------- Previous post was at 07:19 PM ----------

Nice work man. Looks great!

Looking good


Sent from my iPhone

great work jumbo your attention to detail is remarkable.

Thanks, y'all. I'm really quite pleased with myself since this is really the first time I've done any of this. But honestly it makes me realize I can attack other similar projects that maybe I have been thinking I didn't have the skill for. Having this car to learn on is really priceless in terms of gaining confidence in the tools and methods. I would NEVER have tried this out on the FX. But now that I know I can do it and I can do it right, I'd consider at least shaving the lenses on the FX. Would still need to seal with clear though.
 
yeah, yeah Dave - I know. All blacked out, lol. Now that I have the tinting skill maybe I'll finally black out the FX heads & tails along with the upper and lower grills?


I'm doing a performance driving school at MSR Houston at the end of the month. Assuming the car survives, lol... my first autocross should be shortly after.

One of the online forum dealers was running a special - I got all four OEM rotors and pads all the way around for $125. I've been told I'll likely need to replace all that stuff after the weekend school and one autocross.
 
have fun with it! autoX is a lot of fun, especially in these little toys. next thing you know your gonna wanna throw an lsd in there and doin some drift things! hahah. have fun with it man. its coming along very nicely and your attention to detail is great! :tup:
 
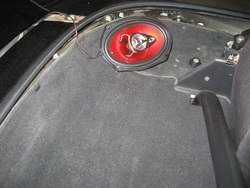
Finished up the audio today. Yesterday I was poking around in EPO and found some 4x6 speaker boxes ready to go. At $12 each I couldn't resist. They are just thrown into the back so I can use them immediately but the plan will be to "face" the speakers with a shaped insert that will look like a custom installation.

Had an interesting problem to solve. I couldn't get both left and right rear speakers to work. The driver's side had no signal after I swapped speakers to make sure it wasn't them. Turned out to be the RCA cable run from the head unit to the rear of the car so I can to run a new cable and that solved the problem. Had me stumped for about 30 minutes.

For now - sorry for the through the rear window pic. I've tried aiming them forward or laying them on their backs - doesn't make much difference in sound quality.

IMG_3164.jpg

And here's a shot of the fuse and distribution block board along with the battery cover installed.

IMG_3158.jpg

So I drove around for a while and tried to make some adjustments. The rear channel and sub are much stronger than the front channel at full gain, so I had to play around with turning down the amplifier gain bit by bit until the rear just blended in with the fronts when the fader was set to 0. I'm also setting the filters based on what sounds best while I'm sitting in the car. About the only negative is that my subwoofer is powered off the rear channel (just like the FX) and so there's a balance between bass and fading to the rear. I've had to take the gain on the sub down as well. I totally flaked out on motivating to make speaker enclosures, but if I can modify the off the shelf boxes to look like a clean install, I'll be happy.


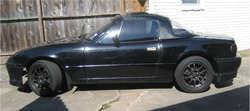
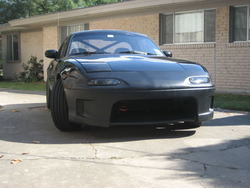
She's a little dirty but here's how she sits now.

IMG_3163.jpg

IMG_3161.jpg

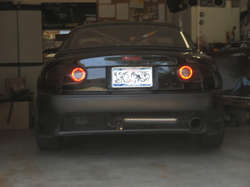
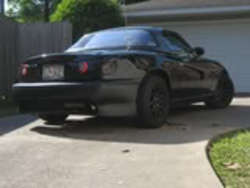
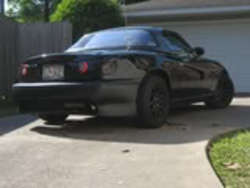
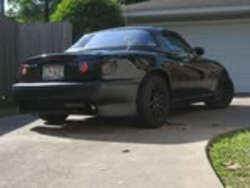
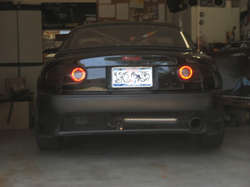
I really like the rear end - body kit, exhaust, custom smoked tails... I'm a fan.

IMG_3160.jpg
 

Attachments

  • IMG_3158.jpg
    IMG_3158.jpg
    105.5 KB · Views: 10
  • IMG_3158.jpg
    IMG_3158.jpg
    105.5 KB · Views: 12
  • IMG_3164.jpg
    IMG_3164.jpg
    64.2 KB · Views: 7
  • IMG_3164.jpg
    IMG_3164.jpg
    64.2 KB · Views: 6
  • IMG_3160.jpg
    IMG_3160.jpg
    4.7 KB · Views: 9
  • IMG_3160.jpg
    IMG_3160.jpg
    4.7 KB · Views: 7
  • IMG_3161.jpg
    IMG_3161.jpg
    71.3 KB · Views: 6
  • IMG_3161.jpg
    IMG_3161.jpg
    71.3 KB · Views: 5
  • IMG_3163.jpg
    IMG_3163.jpg
    45.7 KB · Views: 7
  • IMG_3163.jpg
    IMG_3163.jpg
    45.7 KB · Views: 11
Last edited:
That looks great. Even the lights. It's so murder'd. Not anything I would expect out of your garage. Are you Bi-Polar or something? :rofl:

---------- Post added at 03:42 PM ---------- Previous post was at 03:40 PM ----------

We also need to change the title of this thread from 'Members' to 'Jumbos'
 
That looks great. Even the lights. It's so murder'd. Not anything I would expect out of your garage. Are you Bi-Polar or something? :rofl:

---------- Post added at 03:42 PM ---------- Previous post was at 03:40 PM ----------

We also need to change the title of this thread from 'Members' to 'Jumbos'
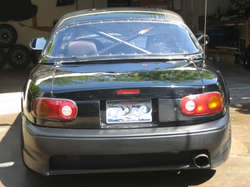

Yeah - I've sort of dominated it, lol. I meant for anybody to post up in here but really it was just a back-door method of being able to post modifications to my Miata in my favorite forum.

What can I say Dave, the style just has to feel right to me. On this car, it works. I actually considered a bronze wheel with matching antenna and door handles. Probably just end up blacking them out. My autocross wheels are also black, but have a yellow stripe, sort of time attack style. I also still have the stockers, which are the lightest of the three sets. Those I can play with - got any powdercoating color suggestions?
 
Last edited:
Back
Top