Member's other Modded rides

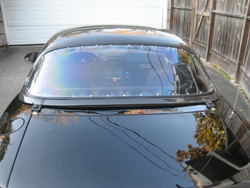
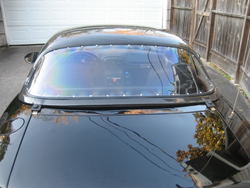
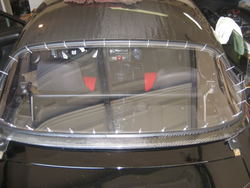
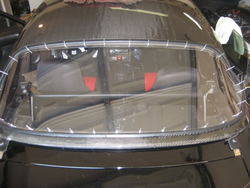
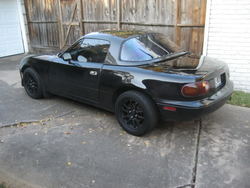
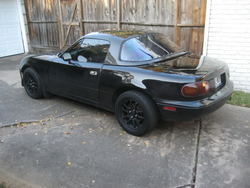
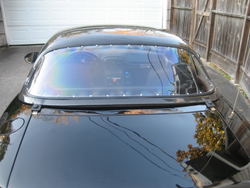
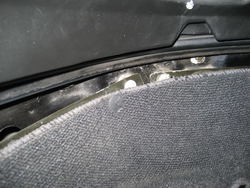
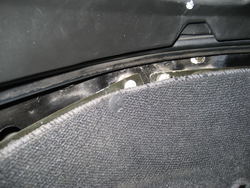
Finished up today - actually took me most of the day! After reading up on this particular top, there were two areas that people tend to experience leaks so I decided to address those prior to install. One area of concern is the lexan window - leaking around the seal and at the rivets. I put down an extra silicone seal first, and used silicone during the install of each rivet.

Another area of concern are the supplied window seals. I had planned on trying them no matter what, but can fall back on the OEM seals on the soft top if I need to. After figuring out how to get the screws to hold the seals tightly, I had to move them around to get the window to seat properly (no leaks). Took two or three iterations on each side. It's not a plug and play type of thing, it's more like a body kit component.

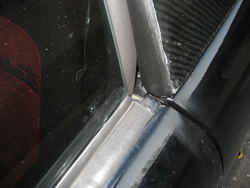
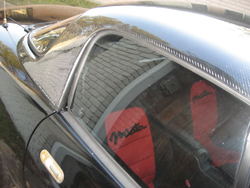
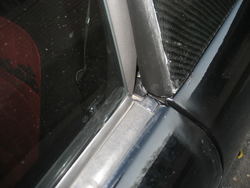
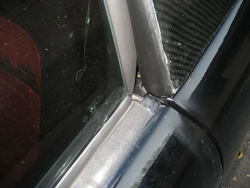
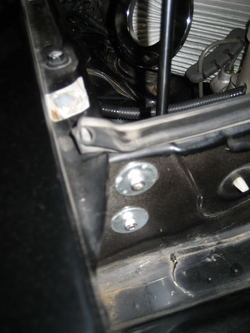
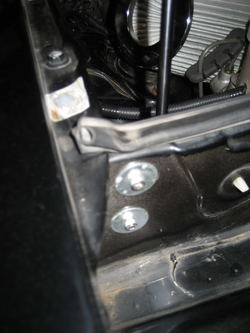
You can see a gap at the base of the window at the door seam. This sort of bothers me, but it actually leads directly to the rain rail drain. If I don't like how it behaves I may figure out how to add another seal to that area.
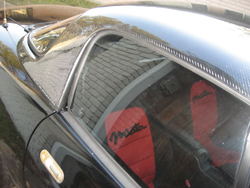
IMG_2871.jpg

The gap is the same on both sides.

IMG_2870.jpg

Riveting the window in was definitely not for the faint of heart. I learned a lot doing it on my own and I'm my own worst critic. A couple of mistakes bother me but you'll probably never notice even if you are looking for them.


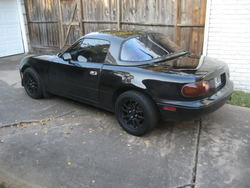
Hellraiser Miata, lol.
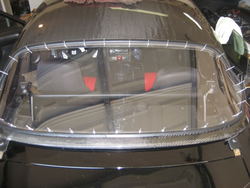
IMG_2865.jpg

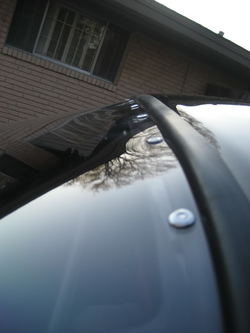
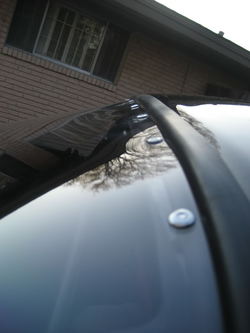
So I had an interesting problem here - the rivet gun was putting too much pressure on the lexan before the rivet lead would shear off. So I secured each rivet, but had to dremel off the lead and de-burr each one. There are 34.
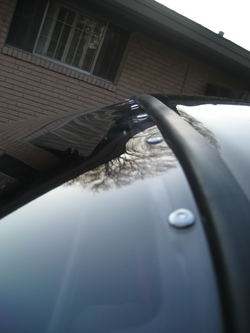
IMG_2872.jpg

Sweet. This top is the tits.

IMG_2868.jpg

IMG_2866.jpg

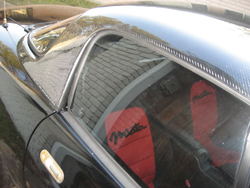
Totally changes up the feel of the car - stereo is much more clear, much less ambient noise... not to mention security! Might have to replace those door locks since the ones I have don't work. Another project for another day...
 

Attachments

  • IMG_2871.jpg
    IMG_2871.jpg
    86.9 KB · Views: 41
  • IMG_2871.jpg
    IMG_2871.jpg
    86.9 KB · Views: 63
  • IMG_2868.jpg
    IMG_2868.jpg
    72.4 KB · Views: 54
  • IMG_2872.jpg
    IMG_2872.jpg
    41.2 KB · Views: 57
  • IMG_2872.jpg
    IMG_2872.jpg
    41.2 KB · Views: 50
  • IMG_2865.jpg
    IMG_2865.jpg
    91.5 KB · Views: 56
  • IMG_2865.jpg
    IMG_2865.jpg
    91.5 KB · Views: 202
  • IMG_2870.jpg
    IMG_2870.jpg
    53.7 KB · Views: 48
  • IMG_2870.jpg
    IMG_2870.jpg
    53.7 KB · Views: 53
  • IMG_2866.jpg
    IMG_2866.jpg
    82.1 KB · Views: 76
  • IMG_2866.jpg
    IMG_2866.jpg
    82.1 KB · Views: 56
  • IMG_2868.jpg
    IMG_2868.jpg
    72.4 KB · Views: 53
dayum should of bought a miata instead of an eclipse. either way good job on the mods I am trying to stay away from doing that just keeping it a clean beater.
 
Last edited:
Thanks for the info. i'm gonna lurk around and see if i came across a good deal on a NA. i'm starting to get the itch to work on something.

I'm 6'1", 215 - so you should be ok.

Go lurk on Miata.net and get everything you need to know about longevity and DIY maintenance. Their, "Garage" section has all maintenance articles and it's the first place I go when I need to do something for the first time on the Miata.

There are three generations of Miata, the first one being NA - what I have. It is generally accepted the "best" years are 94 & 95 (before OBDII and after a few production years). The NA is easy to recognize because of the flip-up headlights. The NB shares many parts with the NA, but has the standard permanent headlights (Starting in 1996). The NC looks more like an RX-8 to me - more sporty looking. Bottom line is the motor lasts for freakin ever. The only way to kill it is to let it overheat, from what I have read. The known recurring maintenance items are very well covered by the community. Mine has just about 200,000 miles on it.

30 bucks to fill on premium. About 28-30 mpg. Hard to beat that for a cheap used car.
 
Knocked out a couple items this morning.

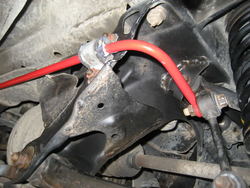
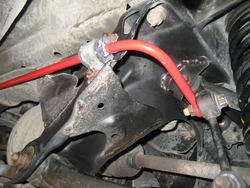
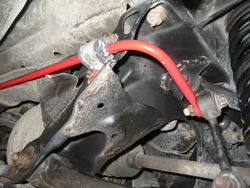
While under the car changing the differential fluid last week, I noticed the rear sway bar bushings looked pretty bad. Deformed, cracked, dry rot... no bueno. So I found some eBay replacements for 8 bucks, shipped. When I removed the bar, there was a good bit of corrosion and paint bubbling. I sanded the whole bar down and shot it with some red metal laquer just to stop additional oxidation and also to match the front sway. Lubed up the bushings and torqued everything back down. I tend to hit the area I'm working in with WD-40 and a rag just to see what I'm working around and if anything is hiding under some dirt or rust.

IMG_2886.jpg

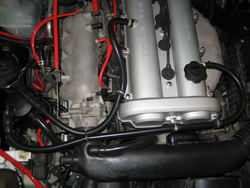
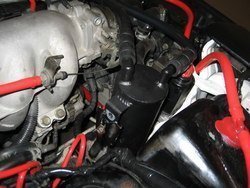
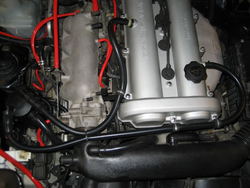
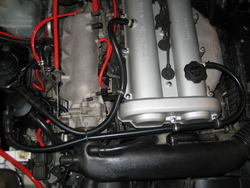
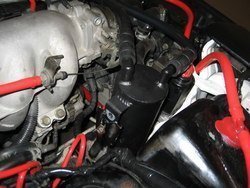
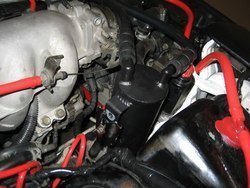
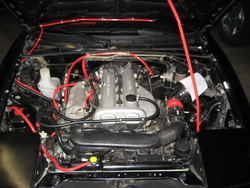
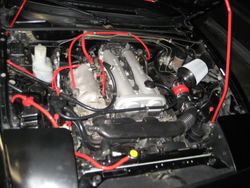
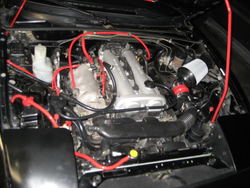
Next, I installed an oil catch can. This particular one came out of my FX! It was custom made by Saikou Michi Co. On the website it is classified as a "Stage 3" due to it's size and internal configuration. As a mounting solution I ended up re-installing the charcoal canister bracket - turns out it is a pretty good location for the oil catch. This design uses only one vacuum source for both valve cover sides, allowing me to cap off yet one more vacuum port on the intake manifold. Too bad I didn't have red silicone hoses for this. HA! Had some black silicone laying around.

IMG_2889.jpg

It only looks close to the throttle cable - there's about an inch of clearance. I also zip tied it to the other cable to keep it from bouncing around.

IMG_2891.jpg

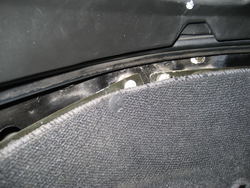
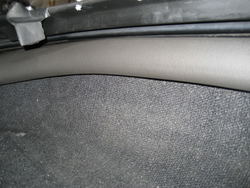
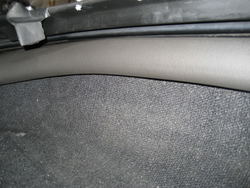
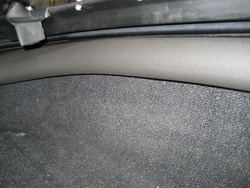
Finally, since I installed my new hard top, I have not liked the gap between the parcel shelf carpet and the hard top.

IMG_2892.jpg

Not a huge deal but I thought of a simple solution. 1" ID pipe insulation with pre-applied adhesive. I just tucked one edge into the rain rail and curled the other edge up, setting it in place with the adhesive strip. Pleased since it cost me about $1.29.

IMG_2894.jpg

After all this was done I washed the car. I know it is supposed to rain this afternoon and tomorrow but I can't help myself. I'm going out with my wife tonight and I want a clean car. I might wash her again tomorrow if I get a chance!
 

Attachments

  • IMG_2889.jpg
    IMG_2889.jpg
    87.9 KB · Views: 49
  • IMG_2889.jpg
    IMG_2889.jpg
    87.9 KB · Views: 48
  • IMG_2886.jpg
    IMG_2886.jpg
    103 KB · Views: 38
  • IMG_2886.jpg
    IMG_2886.jpg
    103 KB · Views: 41
  • IMG_2894.jpg
    IMG_2894.jpg
    117.4 KB · Views: 53
  • IMG_2894.jpg
    IMG_2894.jpg
    117.4 KB · Views: 50
  • IMG_2892.jpg
    IMG_2892.jpg
    133.6 KB · Views: 58
  • IMG_2892.jpg
    IMG_2892.jpg
    133.6 KB · Views: 47
  • IMG_2891.jpg
    IMG_2891.jpg
    98.6 KB · Views: 61
  • IMG_2891.jpg
    IMG_2891.jpg
    98.6 KB · Views: 53
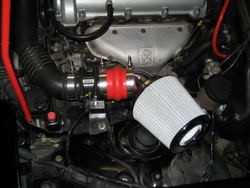
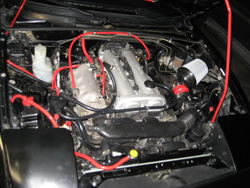
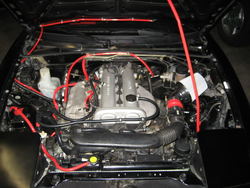
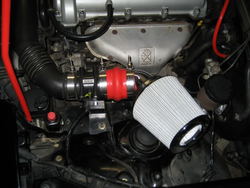
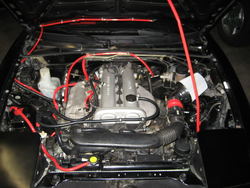
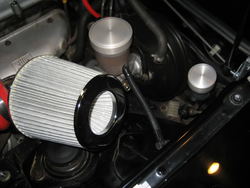
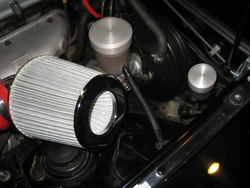
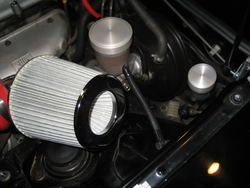
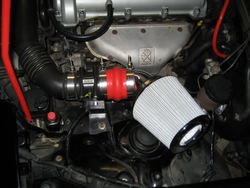
Last night I was browsing at Advanced autoparts and decided I wanted to do a DIY high flow intake. I got the filter and the 60 degree elbow for 40 bucks. The red silicone hump coupler actually came from my FX's CAI, back when she was still NA. I love recyling parts. Makes me feel like I got my money's worth.

When I did this mod to the FX, it was essentially Stillen's kit, which I eventually modified with a different tube (deleted the Z-tube). I absolutely felt a difference in power for the FX. For the Miata, the difference was more subtle. The powerband has shifted, but I don't think the car pulls any harder or faster. The sound at WOT is definitely better, but it's not a huge change. Really this was just for fun and for looks. I'll be watching MPGs over the next tank of gas or two.

Was thinking I might try to make a heat shield at some point. Won't put too much effort into it because it'll go away when the turbo goes in.

IMG_2898.jpg

IMG_2896.jpg

IMG_2897.jpg
 

Attachments

  • IMG_2898.jpg
    IMG_2898.jpg
    78.6 KB · Views: 40
  • IMG_2898.jpg
    IMG_2898.jpg
    78.6 KB · Views: 74
  • IMG_2897.jpg
    IMG_2897.jpg
    94 KB · Views: 57
  • IMG_2897.jpg
    IMG_2897.jpg
    94 KB · Views: 49
  • IMG_2896.jpg
    IMG_2896.jpg
    86.2 KB · Views: 73
  • IMG_2896.jpg
    IMG_2896.jpg
    86.2 KB · Views: 47
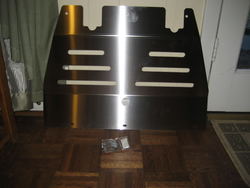
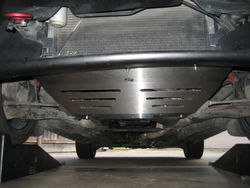
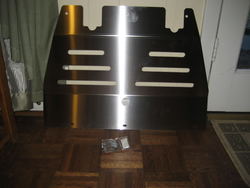
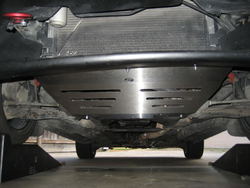
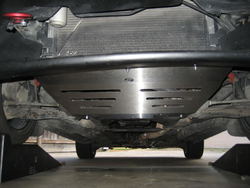
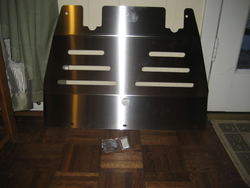
My wife gave me a Cobalt stainless underbody panel for Valentine's day. She rocks.

IMG_2922.jpg

After work today I got under the car to install it. Because of my aftermarket front bumper, the front of the panel didn't have any holes to bolt to. I made three custom brackets to pick up the new bumper and hold the underbody panel in place.

IMG_2924.jpg

I didn't have the OEM underbody panel - it came without one from the PO. My wife has heard me complain that my engine bay gets filthy after it rains and I guess she went out and actually found this part on her own. It wasn't really on my wish list, but now that I have it - it's staying!

Last weekend I installed the aftermarket rear bumper and fixed some of the damage from the accident behind the rear finisher panel.

IMG_2916.jpg

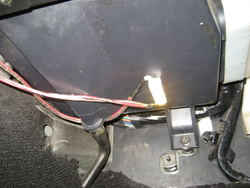
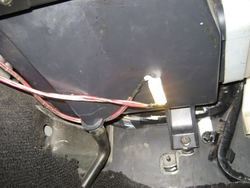
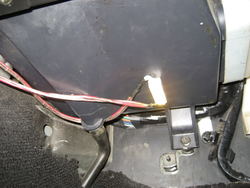
Also installed two sets of LEDs - on on each floorboard. Till this point, the only light in the car is one lamp on the passenger side dash. Can't see the ignition to get the key in! Much better now:

IMG_2912.jpg

From outside the car through the back window in my closed, dark garage.

IMG_2919.jpg
 

Attachments

  • IMG_2922.jpg
    IMG_2922.jpg
    47.1 KB · Views: 46
  • IMG_2912.jpg
    IMG_2912.jpg
    78.3 KB · Views: 47
  • IMG_2912.jpg
    IMG_2912.jpg
    78.3 KB · Views: 72
  • IMG_2916.jpg
    IMG_2916.jpg
    56.7 KB · Views: 41
  • IMG_2916.jpg
    IMG_2916.jpg
    56.7 KB · Views: 54
  • IMG_2924.jpg
    IMG_2924.jpg
    78.4 KB · Views: 40
  • IMG_2924.jpg
    IMG_2924.jpg
    78.4 KB · Views: 38
  • IMG_2922.jpg
    IMG_2922.jpg
    47.1 KB · Views: 54
  • IMG_2919.jpg
    IMG_2919.jpg
    8.8 KB · Views: 44
  • IMG_2919.jpg
    IMG_2919.jpg
    8.8 KB · Views: 37
nice! need coils and exhaust (:

Give me time, bro! I've done every single mod to this car INSIDE the time the FX has been in the shop, getting the turbo done. Only had this car for three months.

That being said, I already bought a Magnaflow cat-back exhaust, lol. Hopefully installing that next weekend. Might have to wait a bit on the coilovers. The front bumper already scrapes when I use a steep driveway. I'd hate to make scraping worse by going lower.

Plan is actually to track this car and there is a large spec community that doesn't touch the Miata OEM suspension or brakes on the track. I'm going to learn how to drive this car to it's limits before I decide to take the suspension to the next level.

And yeah, I know I lucked out with the wife. In fact, I got a LOT more lucky than she did.
 
This weekend I did a few projects - put in a good chunk of hours.

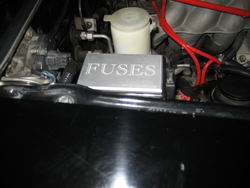
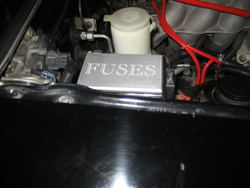
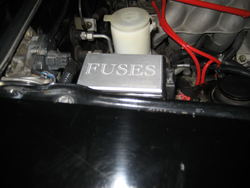
Let's see - the easy stuff - reservoir caps and fuse box plaque. Pretty high quality and inexpensive - they friction fit over the lids along with some 3M double sided adhesive. Just for fun really.

IMG_2932.jpg

IMG_2930.jpg

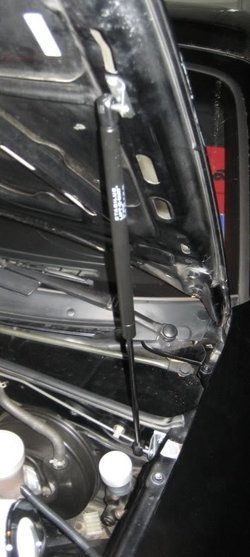
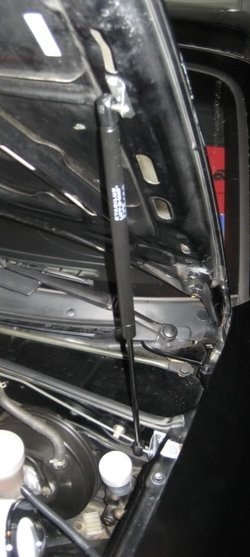
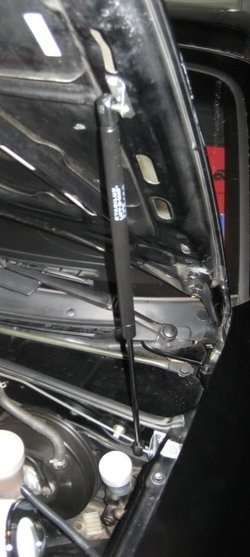
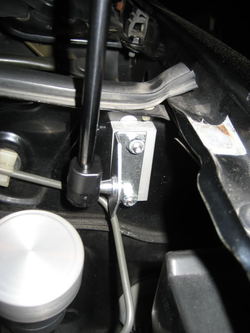
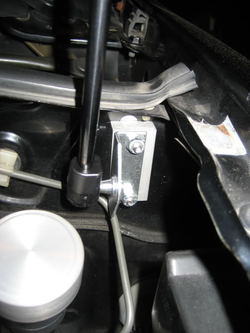
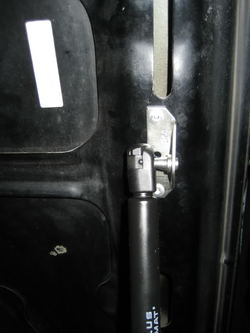
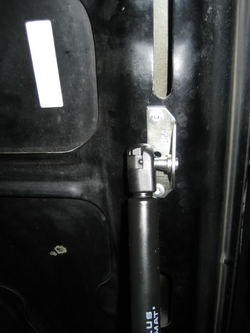
Also did a gas shock hood raise and got rid of the OEM hood prop.

IMG_2935.jpg

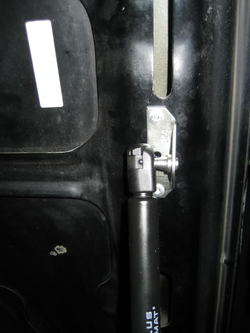
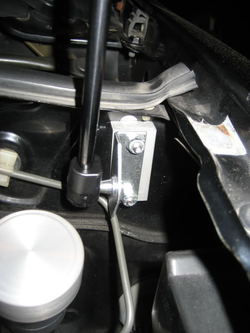
Not too tough to install with the right tools. The kit comes with the proper size drill bit and two rivets, but you need your own rivet gun (which I got when I installed my lexan window in the hard top).

Top bracket with two rivets. Drilled two holes using the bracket as a template.

IMG_2936.jpg

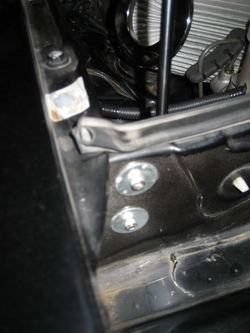
The bottom bracket uses a spacer and attaches through the firewall.

IMG_2938.jpg

From the back side of the bottom bracket

IMG_2939.jpg

I like it a lot better than the prop. It is strong enough that as soon as I release the safety latch, the hood slowly raises all the way up - and it's actually open further than it was with just the prop. It's easy enough to draw down the hood and it closes with no more resistance than before. I'm impressed with the balance of the system and how straightforward the install was.

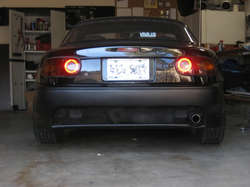
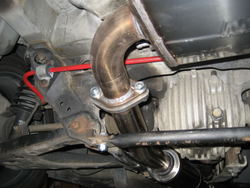
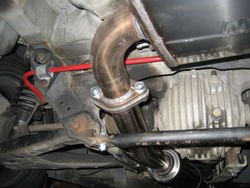
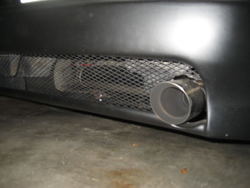
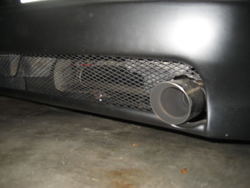
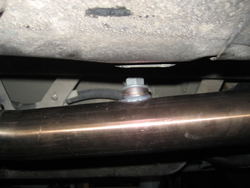
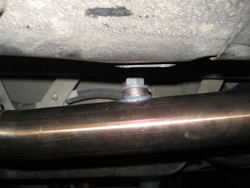
Friday my Magnaflow performance exhaust arrived. I had (still have) some issues installing the exhaust. I spent the better part of Friday night and most of Saturday installing it because my current exhaust was patched together by the PO. There is no cat - just a straight pipe clamped to a slightly modified OEM cat-back.

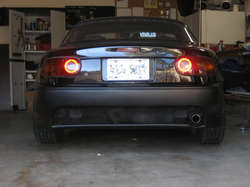
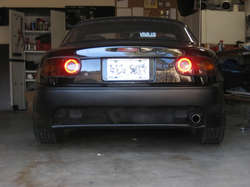
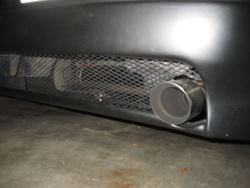
Shot from the rear of the car:

IMG_2934.jpg

Unfortunately the temporary joint connection leaks, making for a louder than normal exhaust note. The first time I started the car, the OEM header separated from the straight pipe. I had an open header and essentially no resonator or muffler. LOUD.

In the morning I drove over to the parts store with my wife's Tahoe and picked up a sensor bung plug and an exhaust pipe reducer that would sleeve over the straight pipe and then slide inside the Magnaflow. It's not a perfect seal at this joint, but it was so much better than the open header - sound wise. Plugging a 20mm hole with the sensor bung plug made a HUGE sound difference.

IMG_2940.jpg

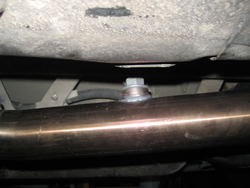
I had to bend the exhaust hangers to get the tip into position and to get pipe clearance from the axle. The first time I started the car the axle was making contact with the pipe. I made it ten feet before pulling back into the garage. Luckily bending the hangers was all it took to get about 3/4" of clearance.

Love the tip. It actually reminds me of a slightly exaggerated Stillen tip on my FX.

IMG_2927.jpg

As of now the volume is tolerable but drones on the highway at certain rpms. Not sure if I can DIY the repair since I don't weld. Might need a shop to repair the straight pipe properly. Can't wait to hear it once it's all buttoned up correctly. At least it looks good in the interim.
 

Attachments

  • IMG_2930.jpg
    IMG_2930.jpg
    70.5 KB · Views: 53
  • IMG_2932.jpg
    IMG_2932.jpg
    49.8 KB · Views: 55
  • IMG_2932.jpg
    IMG_2932.jpg
    49.8 KB · Views: 57
  • IMG_2935.jpg
    IMG_2935.jpg
    52.1 KB · Views: 38
  • IMG_2935.jpg
    IMG_2935.jpg
    52.1 KB · Views: 51
  • IMG_2930.jpg
    IMG_2930.jpg
    70.5 KB · Views: 51
  • IMG_2934.jpg
    IMG_2934.jpg
    84.5 KB · Views: 45
  • IMG_2939.jpg
    IMG_2939.jpg
    60.2 KB · Views: 46
  • IMG_2939.jpg
    IMG_2939.jpg
    60.2 KB · Views: 44
  • IMG_2938.jpg
    IMG_2938.jpg
    65.2 KB · Views: 45
  • IMG_2938.jpg
    IMG_2938.jpg
    65.2 KB · Views: 47
  • IMG_2936.jpg
    IMG_2936.jpg
    58.3 KB · Views: 41
  • IMG_2936.jpg
    IMG_2936.jpg
    58.3 KB · Views: 39
  • IMG_2927.jpg
    IMG_2927.jpg
    40.9 KB · Views: 50
  • IMG_2927.jpg
    IMG_2927.jpg
    40.9 KB · Views: 49
  • IMG_2940.jpg
    IMG_2940.jpg
    57.3 KB · Views: 41
  • IMG_2940.jpg
    IMG_2940.jpg
    57.3 KB · Views: 46
  • IMG_2934.jpg
    IMG_2934.jpg
    84.5 KB · Views: 46
Last edited:
Wanted to make a new thread but remembered this existing one. Posing a question to you iS'ers.

If you could choose any "budget friendly" car to just mod up/take apart/transform into a Frankenstein, what would it be? Now the term budget friendly of course is relative to how much you would sacrifice on this side hobby but just wanted to see what other's would like.

For example, for about 5-6k, i would pick up either an old 240sx, 200sx, mustang (maybe), and try to get it running, or just to take it apart and learn more. What about you?
 
Back
Top