- Car
- 2003 FX35T
- Name
- Brad
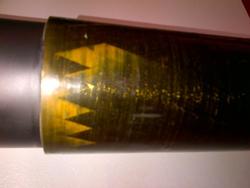
Nice shaft B!
Never seen a dude's shaft a liked more.
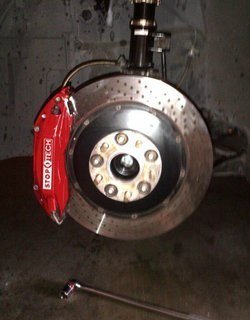
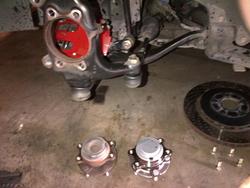
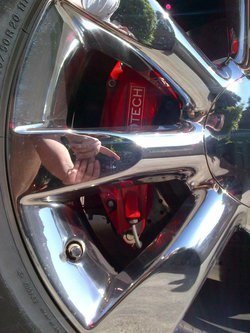
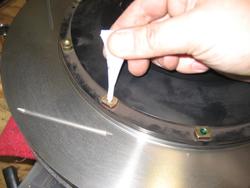
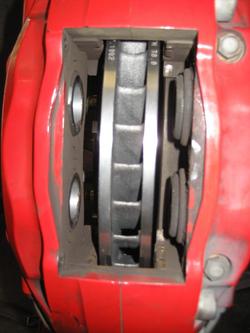
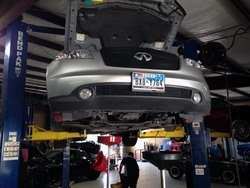
Should have seen those coming... and I'm sure we're not done with the shaft jokes. Wanna close-up of my shaft? I snapped this at powerfab this weekend while pressing out a wheel bearing:

With the parts and experience behind you, is this build 'easy'?
Will Silver most likely be your daily driver?
Well, I feel like I know what to expect this time but we really haven't started the real, "build" yet. To this point it is 100% bolt on mods, which is exactly where I was with the Red FX when it came time to install the built motor and turbo.
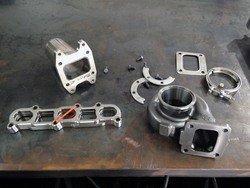
The plan for the Silver FX is to take the built motor and built transmission from the Red FX, swapping in the Carbon Fiber driveshaft at the same time. At that point, custom fabrication for the turbo manifold (hot side & cold side) will require just as much work as the first go-around. Mainly because I'm pretty much starting over. The hot side was damaged in the wreck and I have decided to go with a different configuration for the cold side. On the cold side I will require a different intercooler and new pipes from the turbo to Throttle Body.
The hot side will get fit up with the wrecked Stillen exhaust (Mufflers, resonators and X pipe were not damaged). We will cut out damaged pipes AND any part of the exhaust that wont fit with the braces. I'll be fitting the GTSpec braces to the car first, then routing the exhaust around them in order to take advantage of the braces.
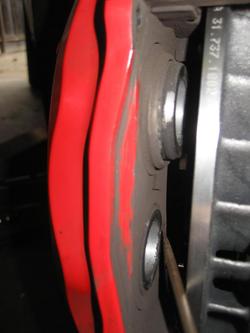
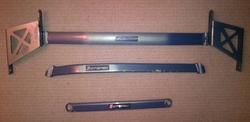
Two of these arrived today (thanks tchuck!) but will be going to media blast and powdercoat before install. The lower engine tie brackets will actually be welded into place rather than bolted. The smallest brace came off the red FX's sub-frame undamaged.

And the STB has been installed since around the time I swapped over interiors.

So that should take care of all bracing & suspension I plan to do for this FX.
 Looks like the new fx is coming along nicely.