What are those circular panels under each seat?
fuel pump and senders

What are those circular panels under each seat?
Cool, did you weigh the mat? I wonder how much weight this total install will add.


Nicely done, sound difference?
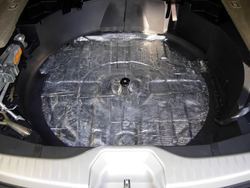
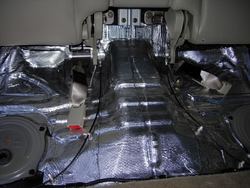
Finally got around to installing the insulation under my rear seats this afternoon. I took a quick pic of my trunk area as well since I seem to have lost the originals...


Hey Tchuck,
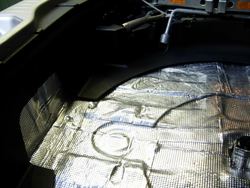
I am also planning to do this to reduce the noise from my Invidia exhaust. From your pics it looks like you just did the wheel well. Did it reduce the exhaust noise considerably and how difficult is it to do?
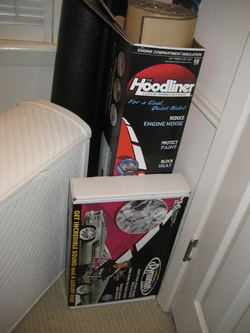
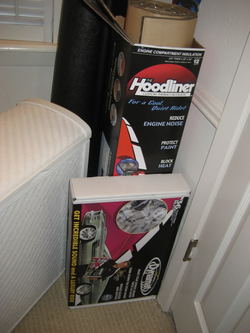
considerably.Just ordered another bulk pack of Dynamat Extreme (same as last time) as well as an insulating hood liner. It's time to do the trunk area and headliner sometime before the summer is over.
I can't wait to see how yours turns out!... Might try to cover the visors myself (my mom sews).
...
Nice work jumbo. I think for the style you're going (luxury feel) you'll definitely see the hard work to be worth the effort in the long run. With my experience some of my friends haven't all loved the dynamat, but the ones with better systems who took the extra effort like you did to be very thorough and extensive felt and hear a difference, and for the better at that.
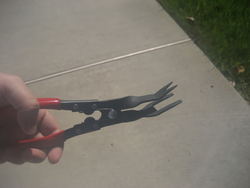
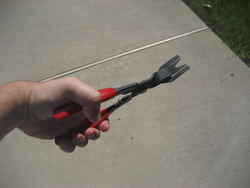
One thing I've tried in past project cars is buying a $0.99 semi-hard squeegee from an auto parts store to help with edges and save your fingers from the pain. Works pretty well. As for clamps snapping, I agree it's aggravating. I tried heating some of them for a bit to see if it softens them up just enough to make a difference....I can't really say if it worked or not since I broke most of them on the harder areas first..
Nice work though man. Let us know after you have some time to feel it out about what you think.