You are using an out of date browser. It may not display this or other websites correctly.
You should upgrade or use an alternative browser.
You should upgrade or use an alternative browser.
What did you do to your FX / QX70 today?
- Thread starter pmanliu
- Start date
O
omgitselaine
Guest
^^Looks great Elaine.
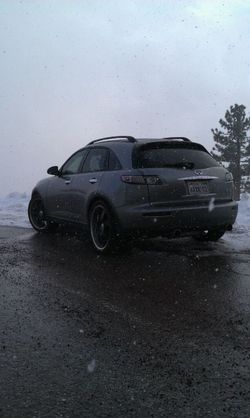
Here is a pic of my FX after her quick wash.
Thank you Gee :smile (2): Likewise with yours !! what polish / wax do you use if I may ask ??
- Car
- 2010 White FX50S-sold
- Name
- Wayne
Thanks, Always Zaino products. My last application of Z2 was last fall.Thank you Gee :smile (2): Likewise with yours !! what polish / wax do you use if I may ask ??
- Car
- 2009 FX50S
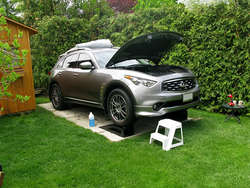
made another 2 ramps for the front. Loving it! Snow mode worked awesome getting the fx up there


really nice ramps!
---------- Post added at 09:32 PM ---------- Previous post was at 09:32 PM ----------
Removed the plasti-dip off of my grille, I'll reapply it over the summer break.
how come you removed it and how long did you have it on?
- Car
- 2006 FX35 RWD
- Name
- Nnaji
how come you removed it and how long did you have it on?
I removed it because my wax paste got on it ( damn Nu-Finish >:[ )
and when it gets on it.. it dries quick and doesn't wipe off.
I had it on for about 9 months
O
omgitselaine
Guest
today I played around with test fitting the beginning stages of mock up of my body kit. I will need 2 nice sized ducts on either side of the front bumper for the 2 side mount intercoolers but really want to avoid the whole cayenne type look and shape, also will help a lot when it comes to building and mounting the intercoolers in knowing exactly where my grille openings will be.
you do need a little imagination to visualize how this might look all grafted together, everything will be grafted together to form a one piece custom bumper cover, it will not be a separate add on lower spoiler type thing. the pictures of this clamped together on the bench are with the lower part raised as much as possible relative to the fx upper half but it will wind up being a little lower than as shown clamped here. this in no way really shows what the end result will look like, it's just a starting point but it does give a hint to the direction I'm going. the 2 side openings will probably be enlarged a bit from how they are here
I do not want a fiberglass bumper or any fiberglass or bondo anywhere on the fx really, everything will be still be flexible urethane just like original and it will still mount and install/uninstall just like the stock body parts.
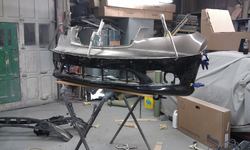
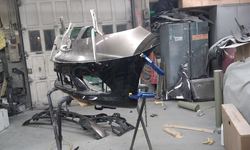
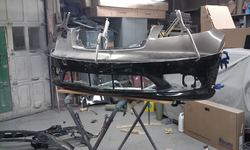
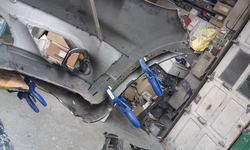
here you can see how much lower it is than the stock one would have been. it will actually be slightly more than this even but I couldn't clamp it lower and have it still stable for pictures
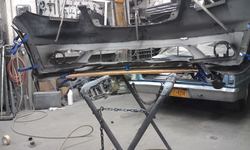
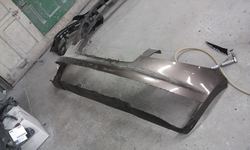
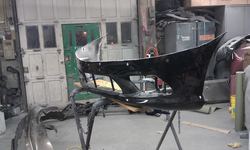
and here are a few shots of mock up to another fx... front looks high because it is raised in these shots
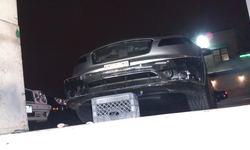
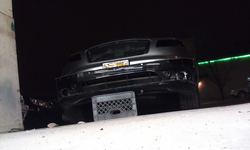
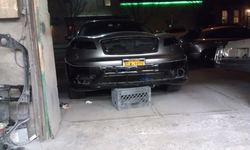
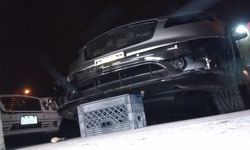
you do need a little imagination to visualize how this might look all grafted together, everything will be grafted together to form a one piece custom bumper cover, it will not be a separate add on lower spoiler type thing. the pictures of this clamped together on the bench are with the lower part raised as much as possible relative to the fx upper half but it will wind up being a little lower than as shown clamped here. this in no way really shows what the end result will look like, it's just a starting point but it does give a hint to the direction I'm going. the 2 side openings will probably be enlarged a bit from how they are here
I do not want a fiberglass bumper or any fiberglass or bondo anywhere on the fx really, everything will be still be flexible urethane just like original and it will still mount and install/uninstall just like the stock body parts.


here you can see how much lower it is than the stock one would have been. it will actually be slightly more than this even but I couldn't clamp it lower and have it still stable for pictures


and here are a few shots of mock up to another fx... front looks high because it is raised in these shots


kieranlavin
Member
- Car
- FX
John I really haven't followed your progress as I've been off forums mostly for a while. Is it running? When are you coming back to the track to check it out? 
- Car
- 2004 Infiniti FX35 Supercharged
^^^Good job Turbo!
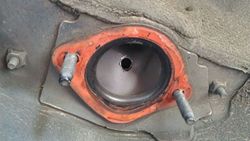
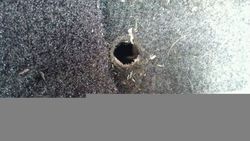
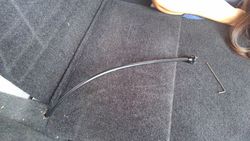
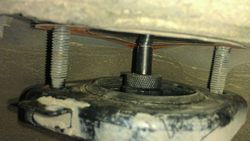
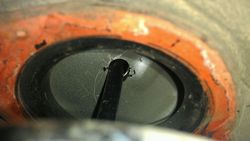
ha, you just drilled a hole without taking everything apart on the inside first? I'm doing the same thing right now, drilling for these dampener adjusters on an fx in my shop but I took all the inside panels all out... your way sure looks easier  without knowing exactly where it would poke through I didn't want to take a chance... that may prove to be the most practical way to do it really once it's confirmed where it does poke through
  you really should try to seal that opening as much as possible too.
Kieran not running yet, the headers winded up being a huge setback but I'm still at it, should be running this year... I hope don't worry as soon as I do get this thing running as it should I' will be busting your chops for some track time
Kieran not running yet, the headers winded up being a huge setback but I'm still at it, should be running this year... I hope
ha, you just drilled a hole without taking everything apart on the inside first? I'm doing the same thing right now, drilling for these dampener adjusters on an fx in my shop but I took all the inside panels all out... your way sure looks easierwithout knowing exactly where it would poke through I didn't want to take a chance... that may prove to be the most practical way to do it really once it's confirmed where it does poke through
you really should try to seal that opening as much as possible too.
Ya I started taking the interior apart but I started getting frustrated
Also I just finished installing my HID reverse lights thanks to Bklynjohn's DIY.
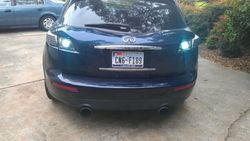
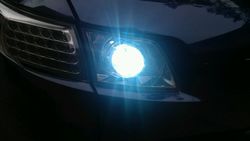
Sent from my HTC_Amaze_4G
Share:

