"LittleGagne"
Member
- Location
- Pot Falls
when is she gonna be done?!

when is she gonna be done?!
Yeah! progress! I was just thinking about your ride and were you were with it over the weekend.....
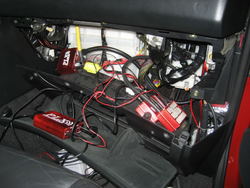
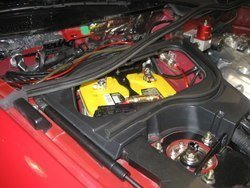
I like the idea of the battery kill switch... A few years ago on my modded dsm I put a switch in line with a new fuel pump I installed.. This way a car thief would sit there and start the car and hear everything working, but just not firing up... Good luck with the rest of your build.
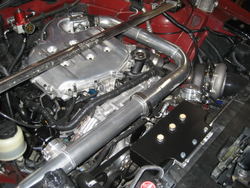
Interested in seeing the catch can pics once it's complete. Also, how's the Miata coming?
Miata pics?


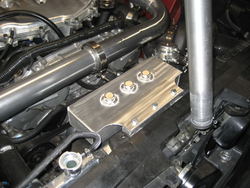


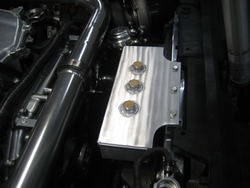

That's one SWEET-ASS catch can boss......
So was the point of your kill switch strictly for security? For my build I wanted something easier than removing the negative cable from the battery terminal every time I want to work on her. The security part of a hidden switch was a bonus for me. Of course, any time I use the kill switch I'll be reprogramming the stereo and resetting the clock. You wouldn't have that problem.
How much did they charge to fab that up? And do you happen to have a link to the thread that gave you the idea?