- Location
- Chicagoland
Oh man, shame on you for posting Mapo pics. Looks like you guys had a good time! :tears:

Oh man, shame on you for posting Mapo pics. Looks like you guys had a good time! :tears:

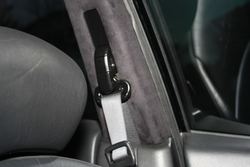
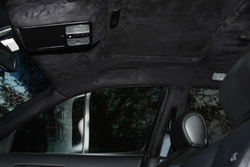
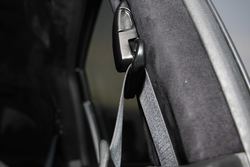
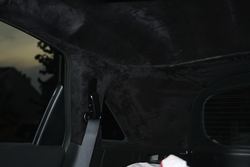
I'll said 90%. Just have to do the B pillars and visors.