- Car
- 2004 Infiniti FX35 Supercharged
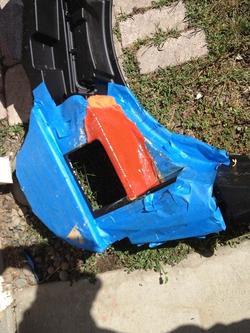
Nice components
• •
• •


Nice. Is there going to be a cooling system for those amplifiers?


Funny you say that as I have both of my PDX's (V9, F4) stacked in the rear deck. Btw, nice build! I took a slightly different approach as you can see in my thread if interested. https://www.infinitiscene.com/searc...ound-system-build-out-stealth-SQ-build!/page2 I'm in the middle of some tweaks to the front stage (going 3 way active, HAT L1Pro R2 tweets, L3SE mid, Clarus 6.5 midbass). A lot of future upgrade plans for the rear deck but am loathe to take out the spare wheel well :D Anyway great work. Fiberglassing is fun and I'm still learning. About to build some sail panel pods for my tweets. Just installed the L3SE's into the dash speaker locations today. Very nice front stage even without the tweeters installed.The Alpine PDX line of amplifiers are one of the most efficient and coolest running amp out in the market. I do not have any plans for any cooling system but I am incorporating provisions for a cooling system to be installed in the future if needed without major modification to how I have designed the amp rack. The amps can actually be stacked on top of each other if needed. That's how cool running these amps are.
") I'm also going to pickup an Iota 30w power charger and integrate that as an "engine off" charging solution for the batteries if I participate in any card audio sql shows. Just run a power cable to the car, plug it in and voila batteries are charging.
I'm also going to pickup an Iota 30w power charger and integrate that as an "engine off" charging solution for the batteries if I participate in any card audio sql shows. Just run a power cable to the car, plug it in and voila batteries are charging.


 How's the build coming?