-----------------------------------------
IF YOU USE AND LIKE THIS DIY, PLEASE +1
-----------------------------------------
This is a super quick writeup that doesn't go into full detail but shows that you can use a universal actuator on our cars. IF YOU USE AND LIKE THIS DIY, PLEASE +1
-----------------------------------------
The original idea came from this thread >> $5 Door Lock Motor (Actuator) Fix - G35Driver
But our cars are a bit different, we don't have all the pretty mounting areas and stuff. I am sure if you really wanted to spend the time to do it beautifully and fabricated a mount it would work even better.
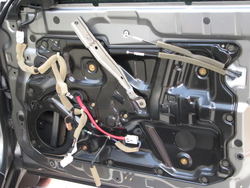
First Remove your door panel.
Unhook all the necessary wires and bring your panel inside and get ready to work on it.
(Bit of a warning, the pictures may be all messed up because I had to modify as I went to make it work.)
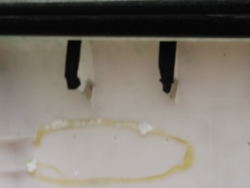
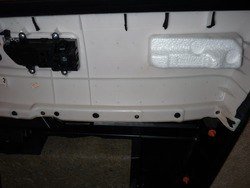
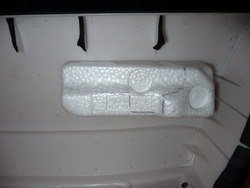
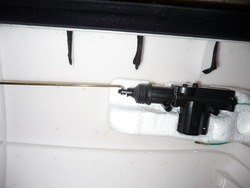
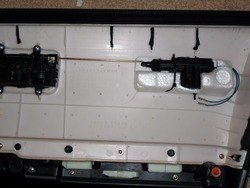
Here is the underside of the door panel.

Trace your actuator onto the stiff foam.


Cut the foam and fit the actuator in.

Fully cut this piece off to make room for the 3 screw mounting piece.

Also fully cut this bottom piece flat.


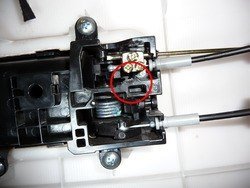
Drill a hole to run the metal connector (in the picture I had to lower the hole down to the red area to make it work). So drill the hole lower than the pic.

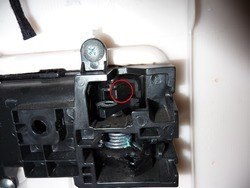
Measure the rod and mark it, you will need enough space to make the actuator go in and out.

Cut the rod after you are happy with the location.
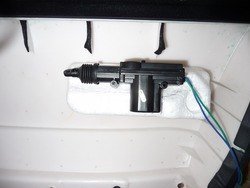
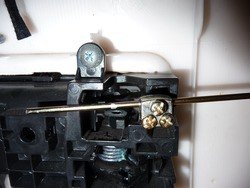
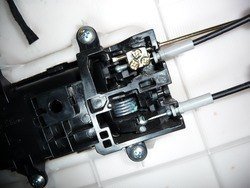
Test fit everything, make sure the actuator is fully closed towards itself.

After I was happy with the fit I just used 2 zip ties to mount it firmly to the foam block.

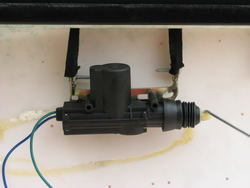
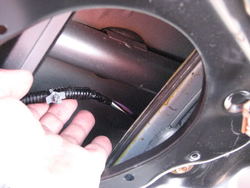
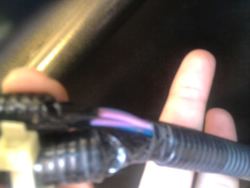
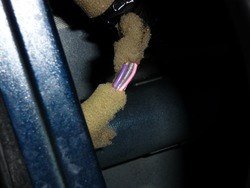
To wire the actuator (which I forgot to take a picture of) remove the door speaker and on the bottom inside the door you will see some wires, you will want to use the Purple and Gray wire. I just cut the wires and connected it so that the factory actuator would not get juice anymore, you could just tap into the wires if you don't feel like cutting.

Connect the wires and test the actuator, you will have to plug in the door control to test it.
Make sure lock locks and open opens. If it is opposite reverse the wires.
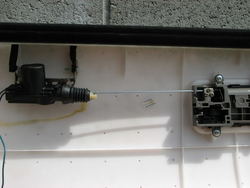
Here is everything put back together.

I know this was a quick write-up but really you are going to have to fiddle with it until you figure it out. It may give you a hard time, but it is definitely better then paying over a $100 for the oem actuator which requires more work.
I actually bought this actuator on ebay for under 5 bucks so even if it fails I can just replace it and still save money.
Here is a vid of it working.
I may redo it in the future, just to fine tune it.
Attachments
-
 P1040442.png64.1 KB · Views: 197
 -
 P1040443.png76.5 KB · Views: 219
 -
 trace.png74.6 KB · Views: 190
 -
 cut-1.png68.6 KB · Views: 187
 -
 cut-bottom-1.png84.9 KB · Views: 212
 -
 P1040455.png76.7 KB · Views: 253
 -
 cut11.png87.5 KB · Views: 188
 -
 hole.png63.2 KB · Views: 210
 -
 maRK.png83.2 KB · Views: 196
 -
 cut.png68.6 KB · Views: 211
 -
 zip.png71 KB · Views: 318
 -
 end.png89.9 KB · Views: 165
 -
 wires.png69.6 KB · Views: 198
")