Dome Bulb = DE3175 (x2)
Door Bulb = 194 (x4)
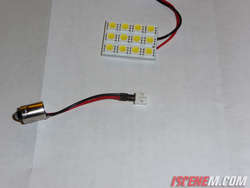
Map Bulb = 57 (x2) *If doing an led upgrade on the map you must order a panel led, Nissan wires the map in reversed polarity....Read this >> CLICK
Tools:
Replacement Bulbs
Plastic pry tool (I did not have one so I just used a butter knife wrapped with a piece of electrical tape).
Note:
On each picture notice the location of the pry tool. You want to pry the covers on the sides of the inner lens clip.
Door Bulbs
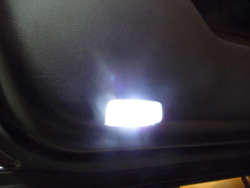
1. For the door bulbs take your pry tool and pop off the cover.
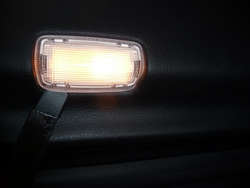
2. Replace the bulb and pop the cover back on.
Rear Dome Lights
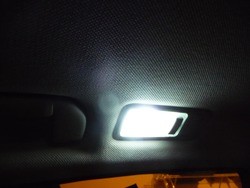
1. Pry off the cover with they pry tool.
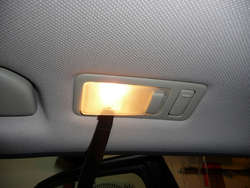
2. Replace the bulb and put the cover back on.
Front Map Lights
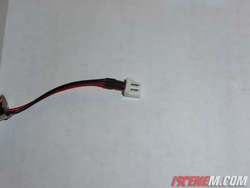
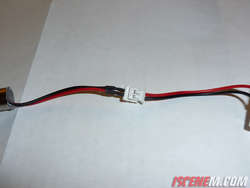
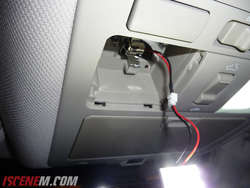
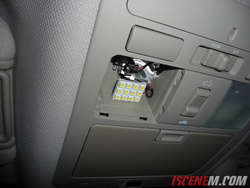
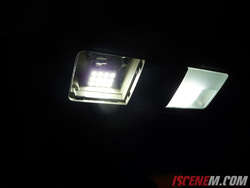
1. (Before trimming the connector check to see if your map light will work in normal polarity, if not)...trim the connector on the panel leds so you can connect it reversed. (I just used a nail clipper).
2. Pry off the covers.
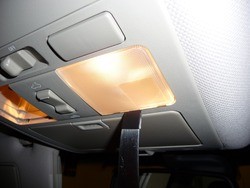
3. Replace the bulbs and put the cover back on.
Door Bulb = 194 (x4)
Map Bulb = 57 (x2) *If doing an led upgrade on the map you must order a panel led, Nissan wires the map in reversed polarity....Read this >> CLICK
Tools:
Replacement Bulbs
Plastic pry tool (I did not have one so I just used a butter knife wrapped with a piece of electrical tape).
Note:
On each picture notice the location of the pry tool. You want to pry the covers on the sides of the inner lens clip.
Door Bulbs
1. For the door bulbs take your pry tool and pop off the cover.

2. Replace the bulb and pop the cover back on.

Rear Dome Lights
1. Pry off the cover with they pry tool.

2. Replace the bulb and put the cover back on.

Front Map Lights
1. (Before trimming the connector check to see if your map light will work in normal polarity, if not)...trim the connector on the panel leds so you can connect it reversed. (I just used a nail clipper).


2. Pry off the covers.

3. Replace the bulbs and put the cover back on.


